Author: Andrew Perkins

Scrimshaw on Sale: Mammoth Ivory Ship Temporary Price Drop

Jason R. Webb's "Whaling Bark" Scrimshaw on ancient mammoth ivoryScrimshaw on sale: One of Jason R. Webb’s premier works of art is taking a temporary price drop!

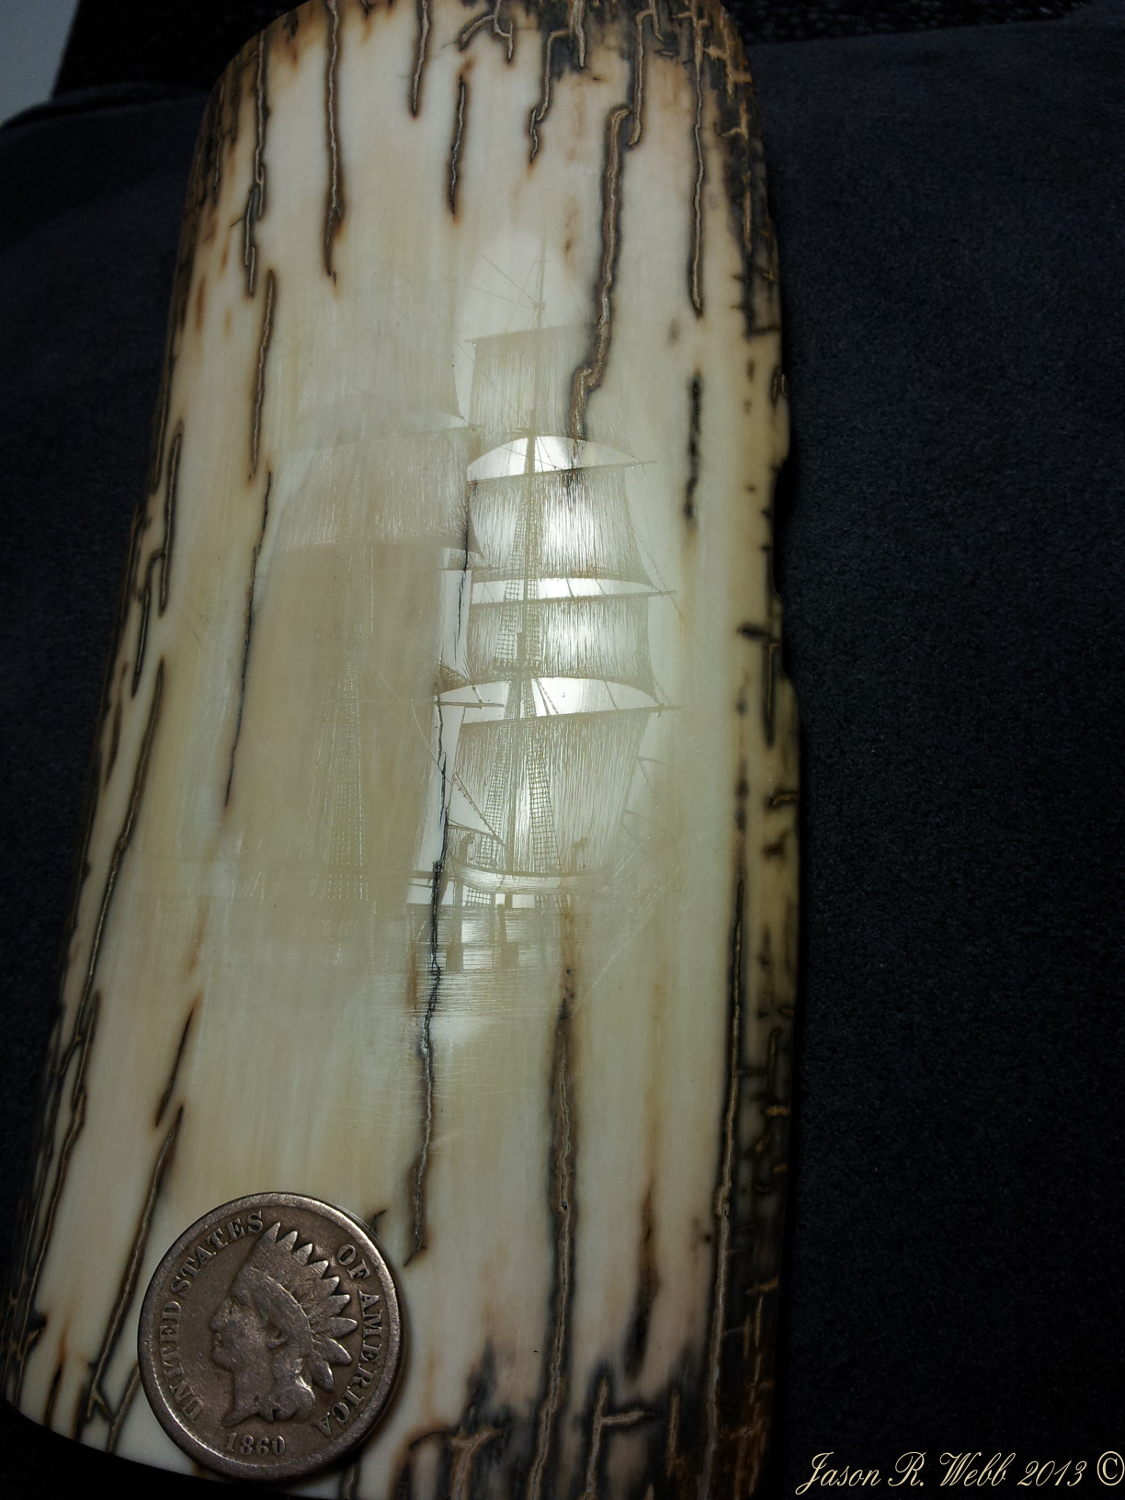
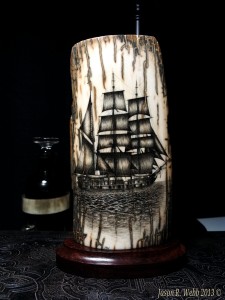
Jason’s “Whaling Bark”, a scrimshaw of the C.W. Morgan was entered in the 2013 International Scrimshaw Competition and stood up well against some incredible competition.  

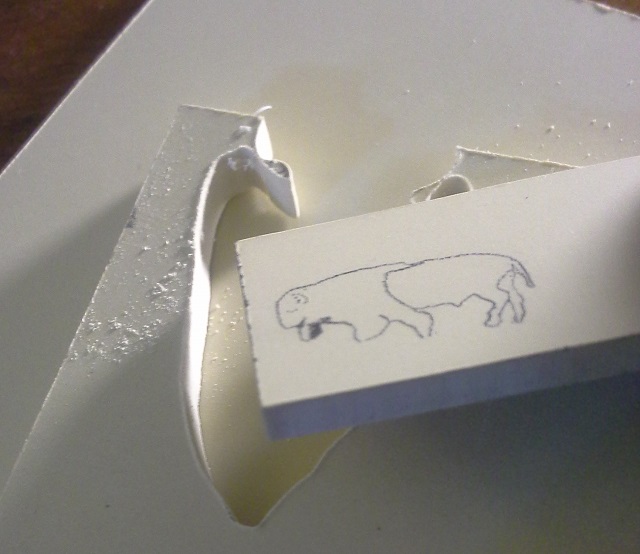
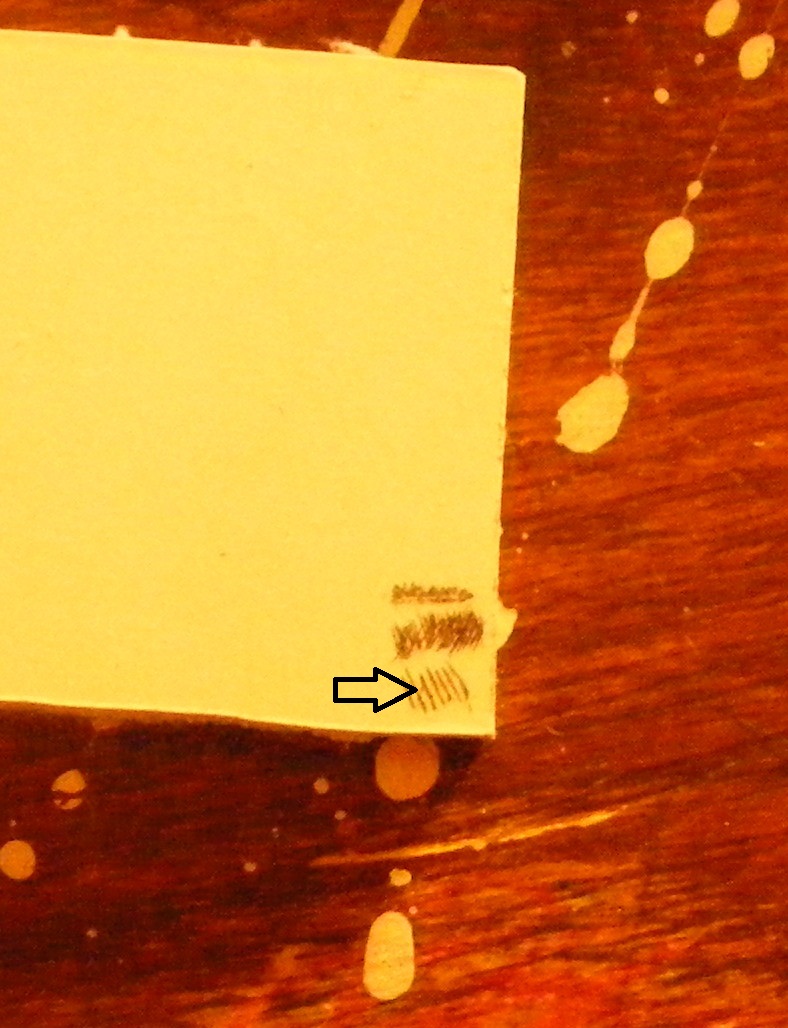
Jason’s style is unique in the world of scrimshaw.  Using both scribe lines and stipple, Jason is able to create the subtle texture of the canvas on the sails and the texture of the wood of the ship, along with an excellent frothing sea that fades gracefully toward the bottom yet still reflects the mast. Using sweeping scribe lines the sails billow and the salt water splashes against the side of the ship. Taking four months to complete, this is one of his first ships on rare mammoth ivory. Standing five inches tall (12.7cm) it is mounted on a rich dark wood base.  The back of the piece is signed and dated by the artist.

Jason’s original private sale price was $1500, but he is putting his scrimshaw on sale for $999 to help defray costs of his move to a larger place so he and his new family will have room to grow.  This magnificent piece is on ancient mammoth ivory as evidenced by the Schreger lines on the base, and is legal for sale worldwide.

Once Jason has moved, this piece will likely return to the original price, so act fast. Contact Jason at jasonwguitar@gmail.com

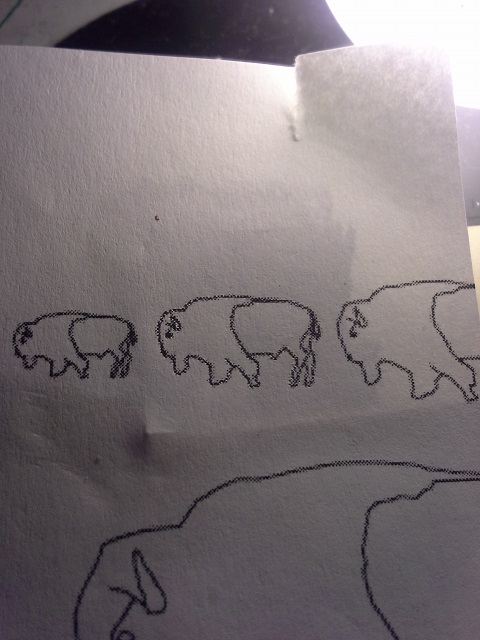
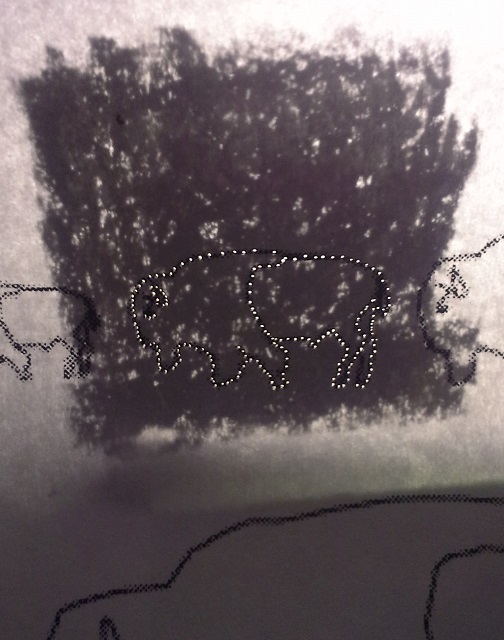
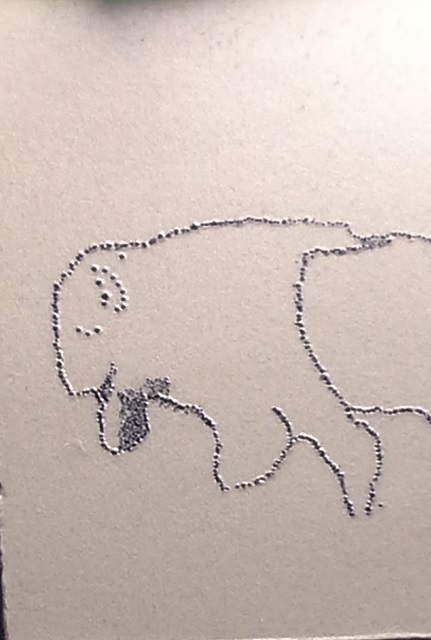
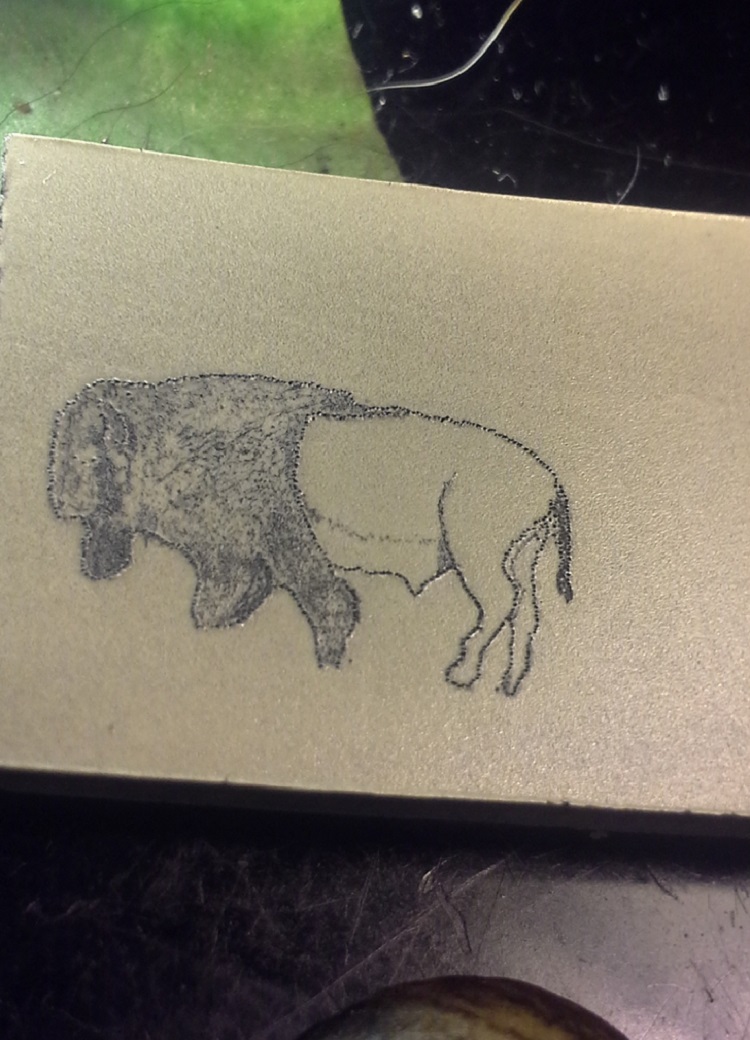
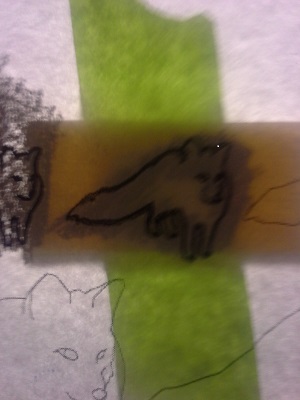
See this one of a kind piece from start to finish: “Whaling Bark”

Buffalo Scrimshaw on Paper Micarta


Paper Micarta

Paper micarta - scrimshaw buffalo on slab, on top of thick cut paper micarta sheetPaper micarta is a composite material made from layers of paper and thermosetting plastic. There are other micartas as well, such as linen micarta and canvas micarta where they mix layers of linen or canvas. These materials are great for knife handles but interferes with scrimshaw since the materials are so thick, and they will wick the pigments. Another micarta like material uses fiberglass (called G10). It is extremely dense and stiff, unlike the Alternative ivory posted in a previous article.

Some people create their own micarta from old denim or paper and epoxy, pressing the materials under as much pressure as they can until dry, then cutting away any excess. This can be a messy and time consuming endeavor (see http://www.instructables.com/id/How-to-make-homemade-micarta/).

Paper micarta is mainly available as ivory, white or black. If you want to create an unique design, you may want to create a deep blue paper micarta and use a white pigment. This is in my bucket list, about the 17th in the line, behind the rest of the overflowing buckets…

Cutting paper micarta requires extremely sharp blades. Another thing you must use is a respirator rated for formaldihyde! This stuff smells terrible, and good ventilation is required as well. Cutting slow, especially with fretsaw blades will allow you to cut intricate patterns in just about any shape.  Read through the Material Safety Data Sheet (MSDS) so you know what you are working with. see: http://www.tmxaerospace.com/wcm/idc/groups/internet/documents/web_content/mdaw/mdi5/~edisp/dw022352.pdf for an example, and request a MSDS when you buy.

Paper micarta sands easily, files work well also. Once cut, shaped and wiped clean, paper micarta can be coated with a couple of coats of wood hardener from Minwax, though for this tutorial we’re trying renaissance wax. Polishing up to 3000 grit is highly recommended also (note: if you’re sealing the micarta with minwax wood hardener, polish it with 3000 grit after it has dried; if using renaissance wax, polish it before, apply the wax, then wipe away the excess renaissance wax with a soft cloth).

Most modern paper micarta is of high quality, though if the material is going to be used on a knife handle that will be getting wet, we’d definitely recommend sealing it.

Stipple and scratch, with callout where paper filaments have pulled awayPaper micarta has a similar hardness to ivory, though we have found that it can stain slightly when using pigments due to its texture. We used a stipple technique on the bison using a Coulter scrimshaw scribe and found the material makes slight craters, not unlike softer mammoth ivory [photo]. It takes fine stippling well, and you can create dark areas with little difficulty.

When it comes to scribing, paper micarta comes up short. The filaments of the paper will pull out making the edges of the lines slightly blurry. Clicking on the picture will bring up a larger image.

A very sharp stippling tool works best with paper micarta. If you are doing bolder lines and wish to scribe we’d recommend trying an X-acto type blade that is stropped so it will cut through the paper filaments instead of pulling them out, though we have not worked with this blade personally.

You can find paper micarta at Masecraft Supply in sheets, blocks and rods, as well as many of the knifemaker’s supply houses like USAKnifemaker, Texas Knife Supply, etc.

A good alternative to ivory, especially when it comes to stipple technique. Paper micarta can replace ivory as well as horn for knife handles as well as jewelry pieces. Similar hardness to ivory, it’s only drawback is when it comes to scribing technique where the paper filaments tend to pull and create fuzzy lines instead of clean lines. Takes ink well, oil paint also works – we applied it and immediately wiped it off with no staining if the surface was polished smooth.

Below is a series of pics of a scrimshaw in progress of a buffalo on paper micarta.  We’re using the stipple technique to keep the image sharp.

buffalo template from "scrimspirations Book 1"
Paper micarta under the second buffalo, the back of the paper is scribbled with a china marker to make the stipple dots show up easier
Paper lifted up once the stippling was completed. Lit from behind.
Stippled buffalo on paper micarta.
Buffalo template from "Scrimspirations Book 1". Photo Credit:USFWS with the piece of paper micarta on top.
Buffalo template from “Scrimspirations Book 1”. Photo Credit:USFWS
Stippling of the Buffalo in progres on paper micarta.  Hind portion outline stippling completed, front portion not finished.
Stippling of the Buffalo in progress (okay, technically an American Bison).
Penny to the left, Bison scrimshaw on paper micarta to the right.
Scrimshaw of Bison (in progress) with penny shown for scale. Looks like President Lincoln is sweating a little…
Light angle shows the slight "cratering" from the stippling technique.Light and close stippling on the "beard" shows far less cratering.
Light angle shows the slight “cratering” from the stippling technique.Light and close stippling on the “beard” shows far less cratering.
Buffalo scrimshaw on paper micarta in progress
Playing with textures on the buffalo. Started with stipple, but the tufts presented a challenge for technique and patience.
Finished Buffalo on Micarta next to quarter on left
Finished, except for replacing the gold loop with silver (when they arrive) and signing the back. Cutting a finished piece out of a rough is not for the faint of heart – or the impatient!

Angling Your Ivory


Alternative ivory propped up on a pen and held in place with a piece of masking tape with the sticky side out. The angle reflects the polished surface into the low power microscope's aperature
A 30 degree angle is sufficient to reflect the light (an LED bulb) into the aperature of the low-power microscope. The loose loop of masking tape holds the pen inside and props it up just right.

A free-arm microscope and a Brady Block are two tools I’d love to incorporate into my scrimshaw tool set (along with my very own studio), but cost prohibits me from adding these at the moment.  As related in a previous post, the Brady block allows you to turn and angle your material quickly and easily, and a free arm microscope gives you the room to put it underneath. As I’m working with a low-power inspection microscope, my area is limited, as is the angle of the light to the material.

Using a small loose roll of masking tape and a pen, I can angle the material its polished surface reflects my light source, making the scribe lines and stipples much easier to see.

  1. Make a small roll of masking tape with the sticky side out slightly larger than your finger,
  2. Place a pen inside and place it on your microscope table or work surface,
  3. Set your work so you can see it through the microscope and angle it so you see the light source reflected on the material’s surface.

Jason Webb’s photos of his works in progress shows this contrast well. This should also work for anyone using an optivisor.  Another option is to stick your material onto a small hard surface and place a bean bag underneath to prop it up.

Jason Webb's scrimshaw in progress showing the contrast between the reflected light and the scribed lines
Jason’s ship on mammoth ivory showing his light reflected in the polished surface and the scribed lines. Clicking on the image will bring it up to full size.
Posted in FYI

Project: Fox in the Snow – Scrimshaw on Alternative Ivory

Along with testing alternative materials, I get to create pieces of art and refine my techniques. With Alternative Ivory, I’ve been working on a “Fox in the Snow” – a picture by Rob Lee on Flickr.com. This post will be updated and edited as I find interesting information and will pass along any tips and techniques as well.

As stated in the newsletter we found that coating the back of the image to be transferred with an aquarelle pencil then taping the piece to the back of the paper and using the “dot-to-dot” technique on the front pressed the pigment into the material without having to press hard enough to completely pierce the paper. This created smaller dots that were easily seen with magnification but could be ignored during the scrimshaw process and would not detract from the final image.

This is one of the few “furry” scrimshaw pieces I’ve done, mostly working with the more traditional ships and waves, lighthouses and flowers with the occasional loon done on commission. I’m a great fan of Katherine Plumer, who can capture dogs, cats, bears – you name it with such realism that I am in constant awe.  She created a piece with a dog and showed the progression, saving the eyes for last. I’ve got the eyes of the fox “sketched” in where I think they need to be but I’m also saving them for last. “Romeo” in progress, and “Romeo” finished shows a level of artistry and technique I hope to attain (it’s in my bucket list).

So, here’s the progress so far:

Picture of the fox printed on paper with the underside scribbled over with an aquarelle pencil, the alt ivory taped to the bottom with green masking tape.
The paper is on top, the back has been scribbled on with an aquarelle pencil. The alternative ivory is the next layer, then the tape. Picture taken with light behind the paper.
After removing the paper from the alternative ivory that had the underside coated by scribbleing with an aquarelle pencil, the dots are easily visible and not as deep.
After creating the “stipple dots” with the pigment underneath, the dots are easily seen and the dots are much smaller.


Fox scrimshaw on alternative ivory - photo by Rob Lee on Flickr.com
It’s cold in the snow, so I went ahead and put his boots on…
scrimshaw of a fox in the snow on alternative ivory in progress as of 2014-05-31
Filled in the darker fur and some of the ear details.
Fox in the snow in progress 2014-06-01
2014-06-01 Added the eyes and more detail, looked at the pic and realized it needs more shading

Scrimshaw for Young People

Picachu scrimshaw on acrylic teardropMy daughter wanted a Pokemon scrimshaw necklace. Figuring she would be wearing it onto the water, taking it off and leaving it someplace by accident, etc., I made it on a piece of white acrylic. This material has its challenges when it comes to coloring. Being a plastic, inks other than black tend to wash away very easily and don’t adhere in the scribed lines. So how do you make the pigment stay? My first solution was to let the ink dry completely then rub off the ink on the polished surface, which left very little ink on the body (the transparent yellow ink does not work well on acrylic, but works great on ivory, bone and tagau nut). The second solution worked, though: using a high quality artist’s colored pencil, I filled in the scribed lines again and wiped away the excess. The color stayed quite well, though just for safe measure I have since given it three coats of clear gloss spray varnish.
Since it’s acrylic, acrylic paint may work as well. Since she’d like another one, complete with each of it’s evolved variations (what have I gotten myself into?!), we’ll try some acrylic paint on the next one to see how that holds up. Oh yes… her friend’s birthday is coming up too…