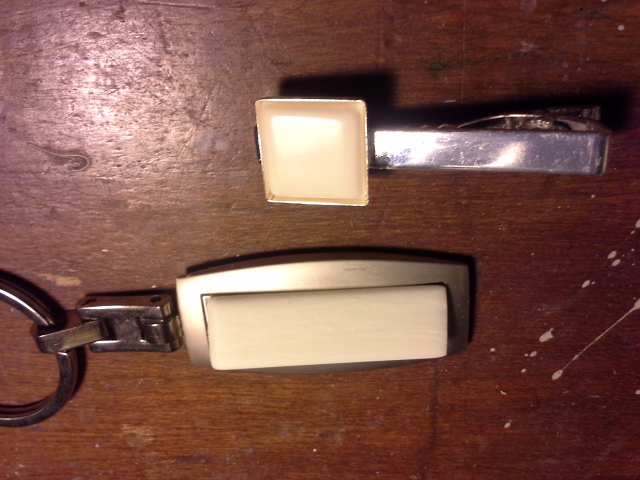
Working on Men’s Fashion Accessories most of this week (though women can use them too). Time permitting, I’ll be finishing off the accessories as shown below. The first piece from this week (the money clip) is already on Etsy, and I am thinking about an initial for the tie clip, though a ship would also look nice… I’ll have to see what I feel like tomorrow evening. Also shaped out a couple of circles that were far too small for the intended findings, so I’ll start again on those when I feel the need to go cut something (or get inspired to fire up the scroll saw).
Author: Andrew Perkins
Mystery Artist 18 – A Scrimshaw Bracelet
We had an inquiry regarding a bracelet recently which was purchased in Nantucket we’d like to share:
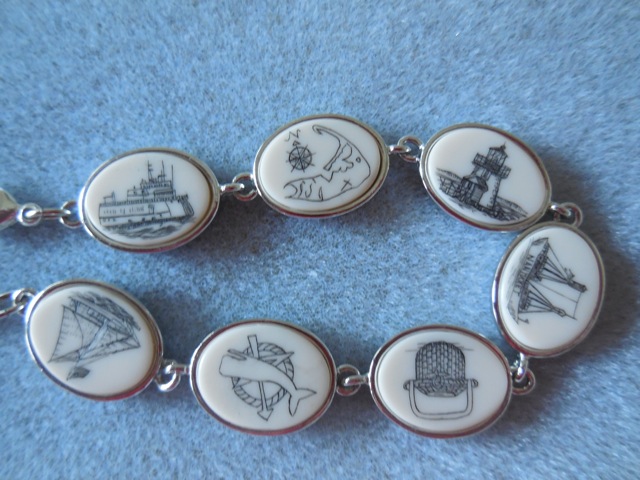
“Returned from vacation on Nantucket Island. I purchased a bracket from the Murphy’s store on Maine St. It was lying in a case that had an original basket designed pendant by A. Doucette. The clerk told me the bracelet was an A. Doucette design but that the oval shaped discs with ink designs of ship, whale, basket, island, schooner, ferry, lighthouse and Nantucket signed ship, were not of ivory and she did not know what the composition was but not to get the bracelet wet. I paid $82 plus tax for the item. It is lovely but I would like to know what the white shaped ovals are made of. Thank for you for any info.”
Due to internet issues she was unable to send the pics for quite awhile, so emails and possible solutions went back and forth. Meanwhile, I was in contact with Al Doucette, the former owner of “The Whale’s Tale” regarding some of his work both past and present, and when we finally resolved the photo issues I forwarded the pics to him:
“…Andrew,
That is my bracelet ! I have been doing this bracelet as a story bracelet for a few years in sterling and ivory….but last year I decided to make this one that I designed in base metal and plated and the inserts are cast in resin…if they look on the back I engraved Atlantic Originals and A. Doucette 2013. I have done the story of nantucket ( that one ) and also the story of the New Bedford Whaler Charles W. Morgan that was restored at Mystic Seaport and sailed on its 38th voyage this summer…”
This had to be the fastest Mystery Artist we’ve had the pleasure of doing. Al is still very busy doing scrimshaw as well as carvings and sculpture and is difficult to pin down for an interview but as a scrimshander, patience comes with the territory. Al has shared a number of pictures of his work with us and we’re working on putting up a page on the site to highlight his work. We’ll add a link in the “Artists” page shortly so everyone can see the work of this truly prolific artist.
If you have a piece of scrimshaw that you need help identifying, send an email along with some high resolution pictures to “[email protected]”. We can’t guarantee such a fast turnaround, but we’ve found a number of artists and have been able to answer some questions about them.
Scrimshaw Skull Bookmark
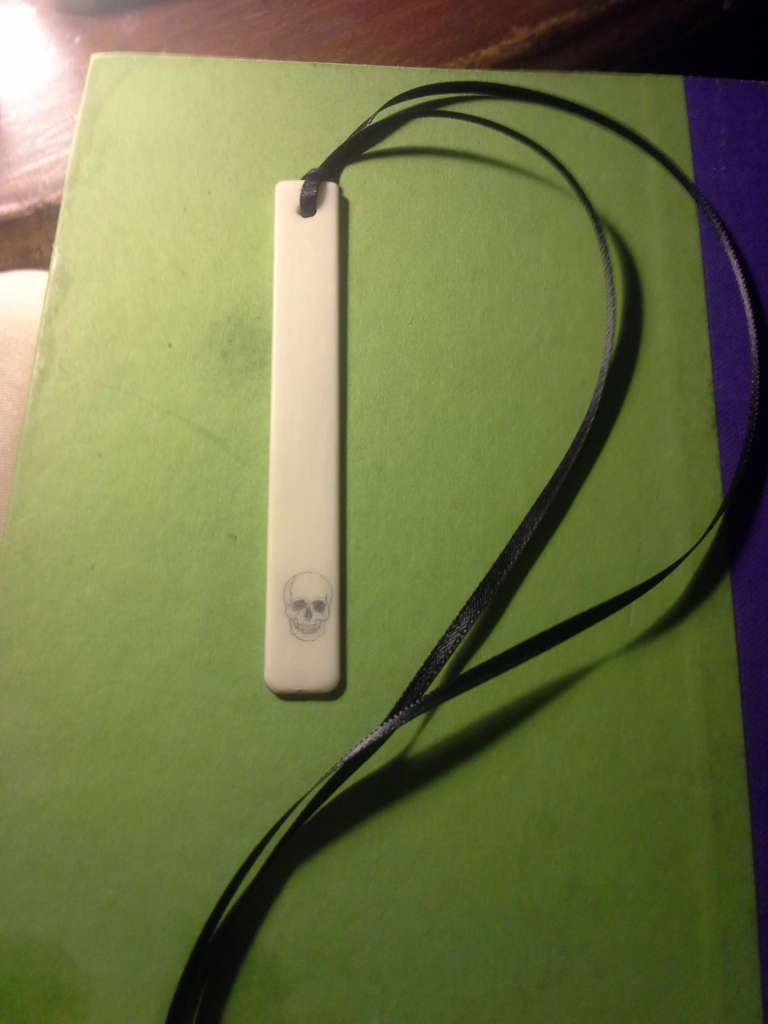 Created a scrimshaw skull bookmark for halloween as well as those who enjoy horror, suspense, who-done-it, thrillers and other scary stories. Made with a piano key tail of alternative ivory used to recover piano keys that have gone bad or become discolored, it is softer than real ivory and takes a light touch, otherwise the material shreds (when creating lines) or “craters” (raises up around the edges of stipple dots). polishes and scribes well with these things in mind. Clicking on the picture will bring it up to full-size. Available at Etsy.com
Scrimshaw on Cattle Horn
(Originally posted in our newsletter in September 2014)
 What is cattle horn?
Cow horn is comprised of keratin, the same material your fingernails are made of, as well as hooves. Cow horn differs from Antler in the fact that antlers are actually bone with no covering, and they are often shed annually. Horns are not shed by cattle, in fact the only animal that does shed it’s keratin is the pronghorn.
Horn is somewhat thermoplastic – it can be heated and shaped, unlike ivory which takes chemical processes or carving to change its shape.
How is it used?
Horn has probably been used for items of adornment and practical use since before the domestication of the animal. From drinking vessels and helmet ornamentation to buttons, knife scales, belt buckles, and combs to powder horns and pen holders, horn can be a versatile material.
Hardness
I couldn’t find any hardness scales using the Rockler D hardness to compare it to. As far as scrimming with my Coulter scribe, it’s slightly softer and sinewy.
Colors and Source(s)
Cow horn comes in a variety of colors from black to mostly white. Usually there is some mottling often with a darker tip. The quality varies as well depending on the cattle the horn originally came from, ranging from sinewy to almost smooth. You can find cattle horn online either raw, polished or in kit form to create powder horns. One of the better places we’ve found is http://www.powderhornsandmore.com/ with a beautiful variety. They also have a newsletter to keep you apprised of shows, meetups and more. You can find other cattle horns on ebay, one of which I’d picked up and was not impressed. It is unsuitable for scrimshaw (not that it said it was scrimshaw quality), so I learned.
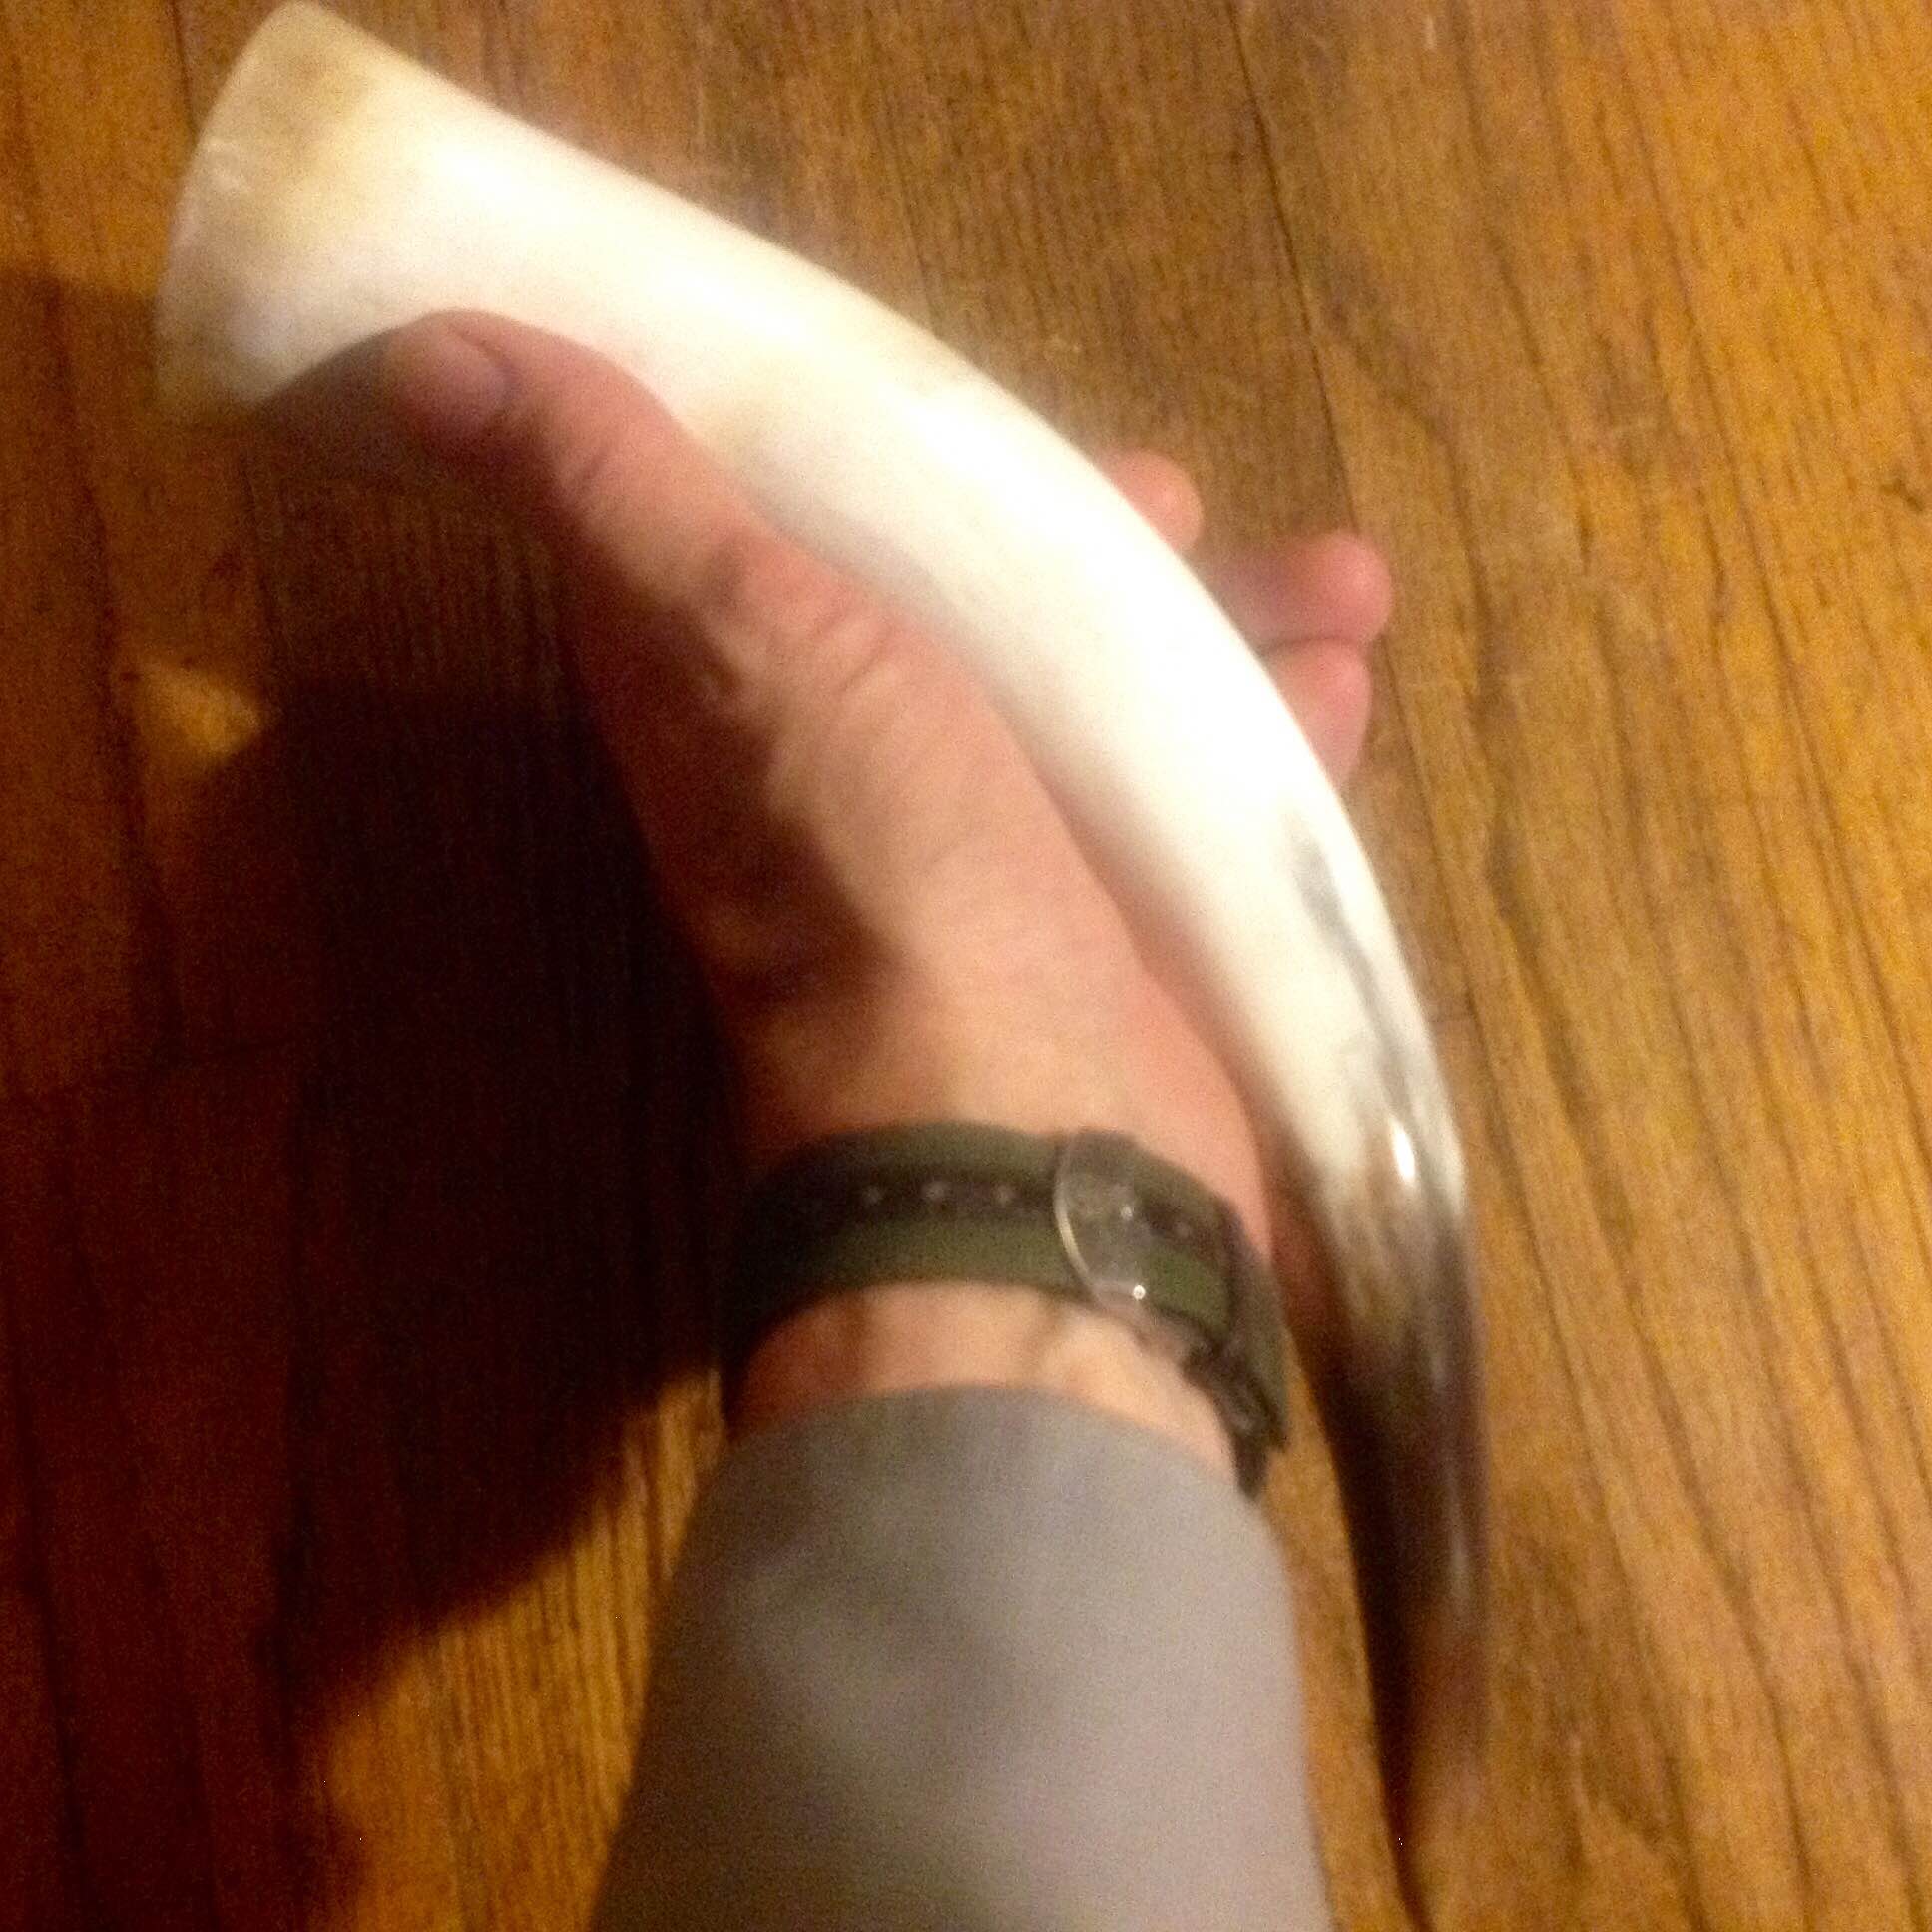
We picked up a “scrimshaw quality” horn from powderhornsandmore.com to work with which has been in my “scrimshaw to-do” box for some time with the intention of creating a powder horn. Sadly, with so many other projects going on it has sat there for nearly two years, and I’m sure it would sit for several more if I don’t do something with it, so we’re going to use it to test and review.
 Stainability
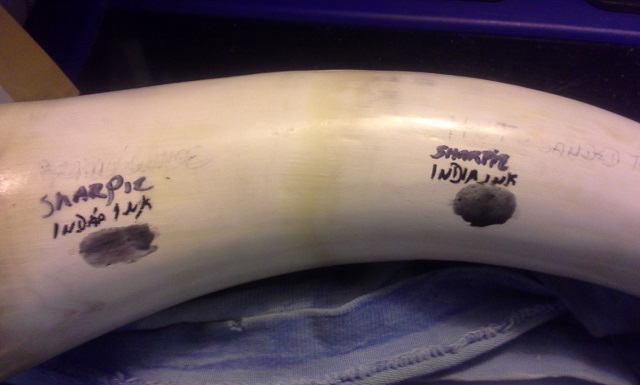
We lightly sanded and polished the horn further with some of the inherent texture still showing, then polished one site with “HUT PPP (Perfect Pen Polish)” wax using a Dremel tool with a felt wheel, and another site we coated with “Renaissance Wax” – a favorite polish and preservative for ivory and wood.
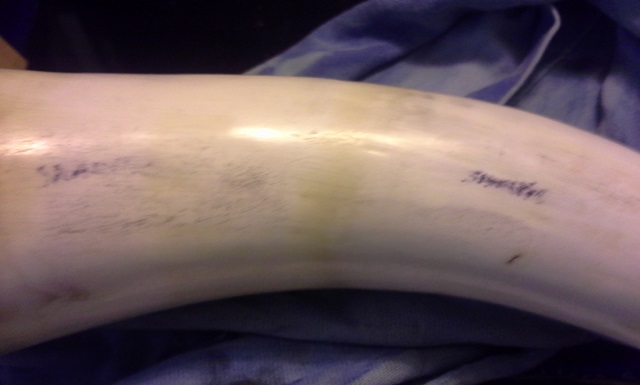
- Sharpie Results: Held fast until I rubbed it with nail polish remover (makes sense as it’s the same material)
- India Ink Results: wiped away easily, stayed in the crevices of the texture of the cow horn
- Oil Paint Results: wiped away easily, though stayed in the crevices of the texture of the cow horn.
Sanding completely smooth will create a cleaner image once you’ve done some scrimshaw, nail polish remover works well for cleaning it off, and the pigment does stay in the scribed lines.
Scribing
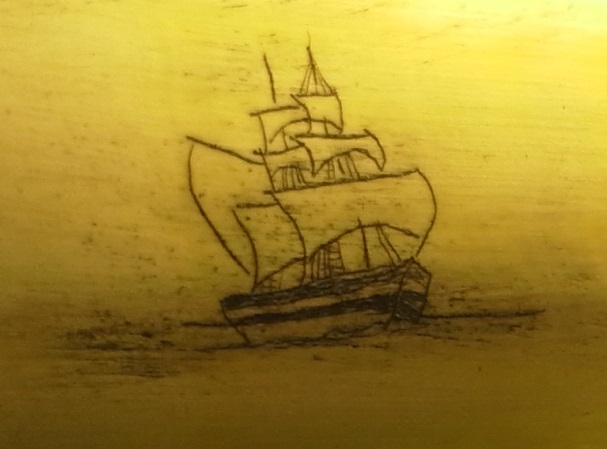
Horn has a definite grain to it running from the base to the point. This can cause some tools to stick unless they’re extremely sharp. That being said, it does scribe well. Scribing deeper may make the lines slightly “fuzzy” due to the fact that the ink will wick somewhat into the grain.
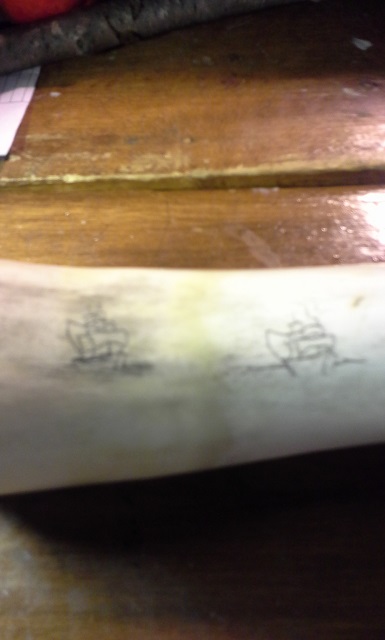
I sketched a couple of quick ships onto both sides of the polished areas to scrim. Initial cleaning left the ink as before, and most of the oil paint wiped away. Another application of nail polish remover left the ink and the oil paint in the scribed lines. Some of us (myself included) like to scribe the initial image, ink it, then fill in. this can be an issue when it comes to cow horn if you’re using nail polish remover to clean it in between scrimmings, since it not only cleans away the ink, but also removes some of the wax or polish. In case you like to work this way, we’d recommend either scribing in one sitting or scribing, cleaning, repolishing (HUT PPP was has worked the best) then let it sit for a day before moving to the detail work and shading.
 Due to the holiday weekend and relatives that flew in from Michigan and D.C., I wasn’t able to do more than this hurried test. Since cow horn is malleable, I may decide to create several smaller pieces from it after sanding it down again, having learned quite a bit from this experiment.
Polishing/sealing
Once you’re satisfied with your work, a final coat using either renaissance wax or HUT PPP wax works well.
Conclusions
Sanding the area you intend to scrims as smooth as possible is a prerequisite unless you are looking to keep the rougher “aged” look of your scrimshaw,
Oil paint works best, though India ink works as long as you have some nail polish remover handy
Nail polish remover will remove the wax, be sure to repolish and let the piece set up for a day before continuing if you tend to scribe/ink/scribe/ink.
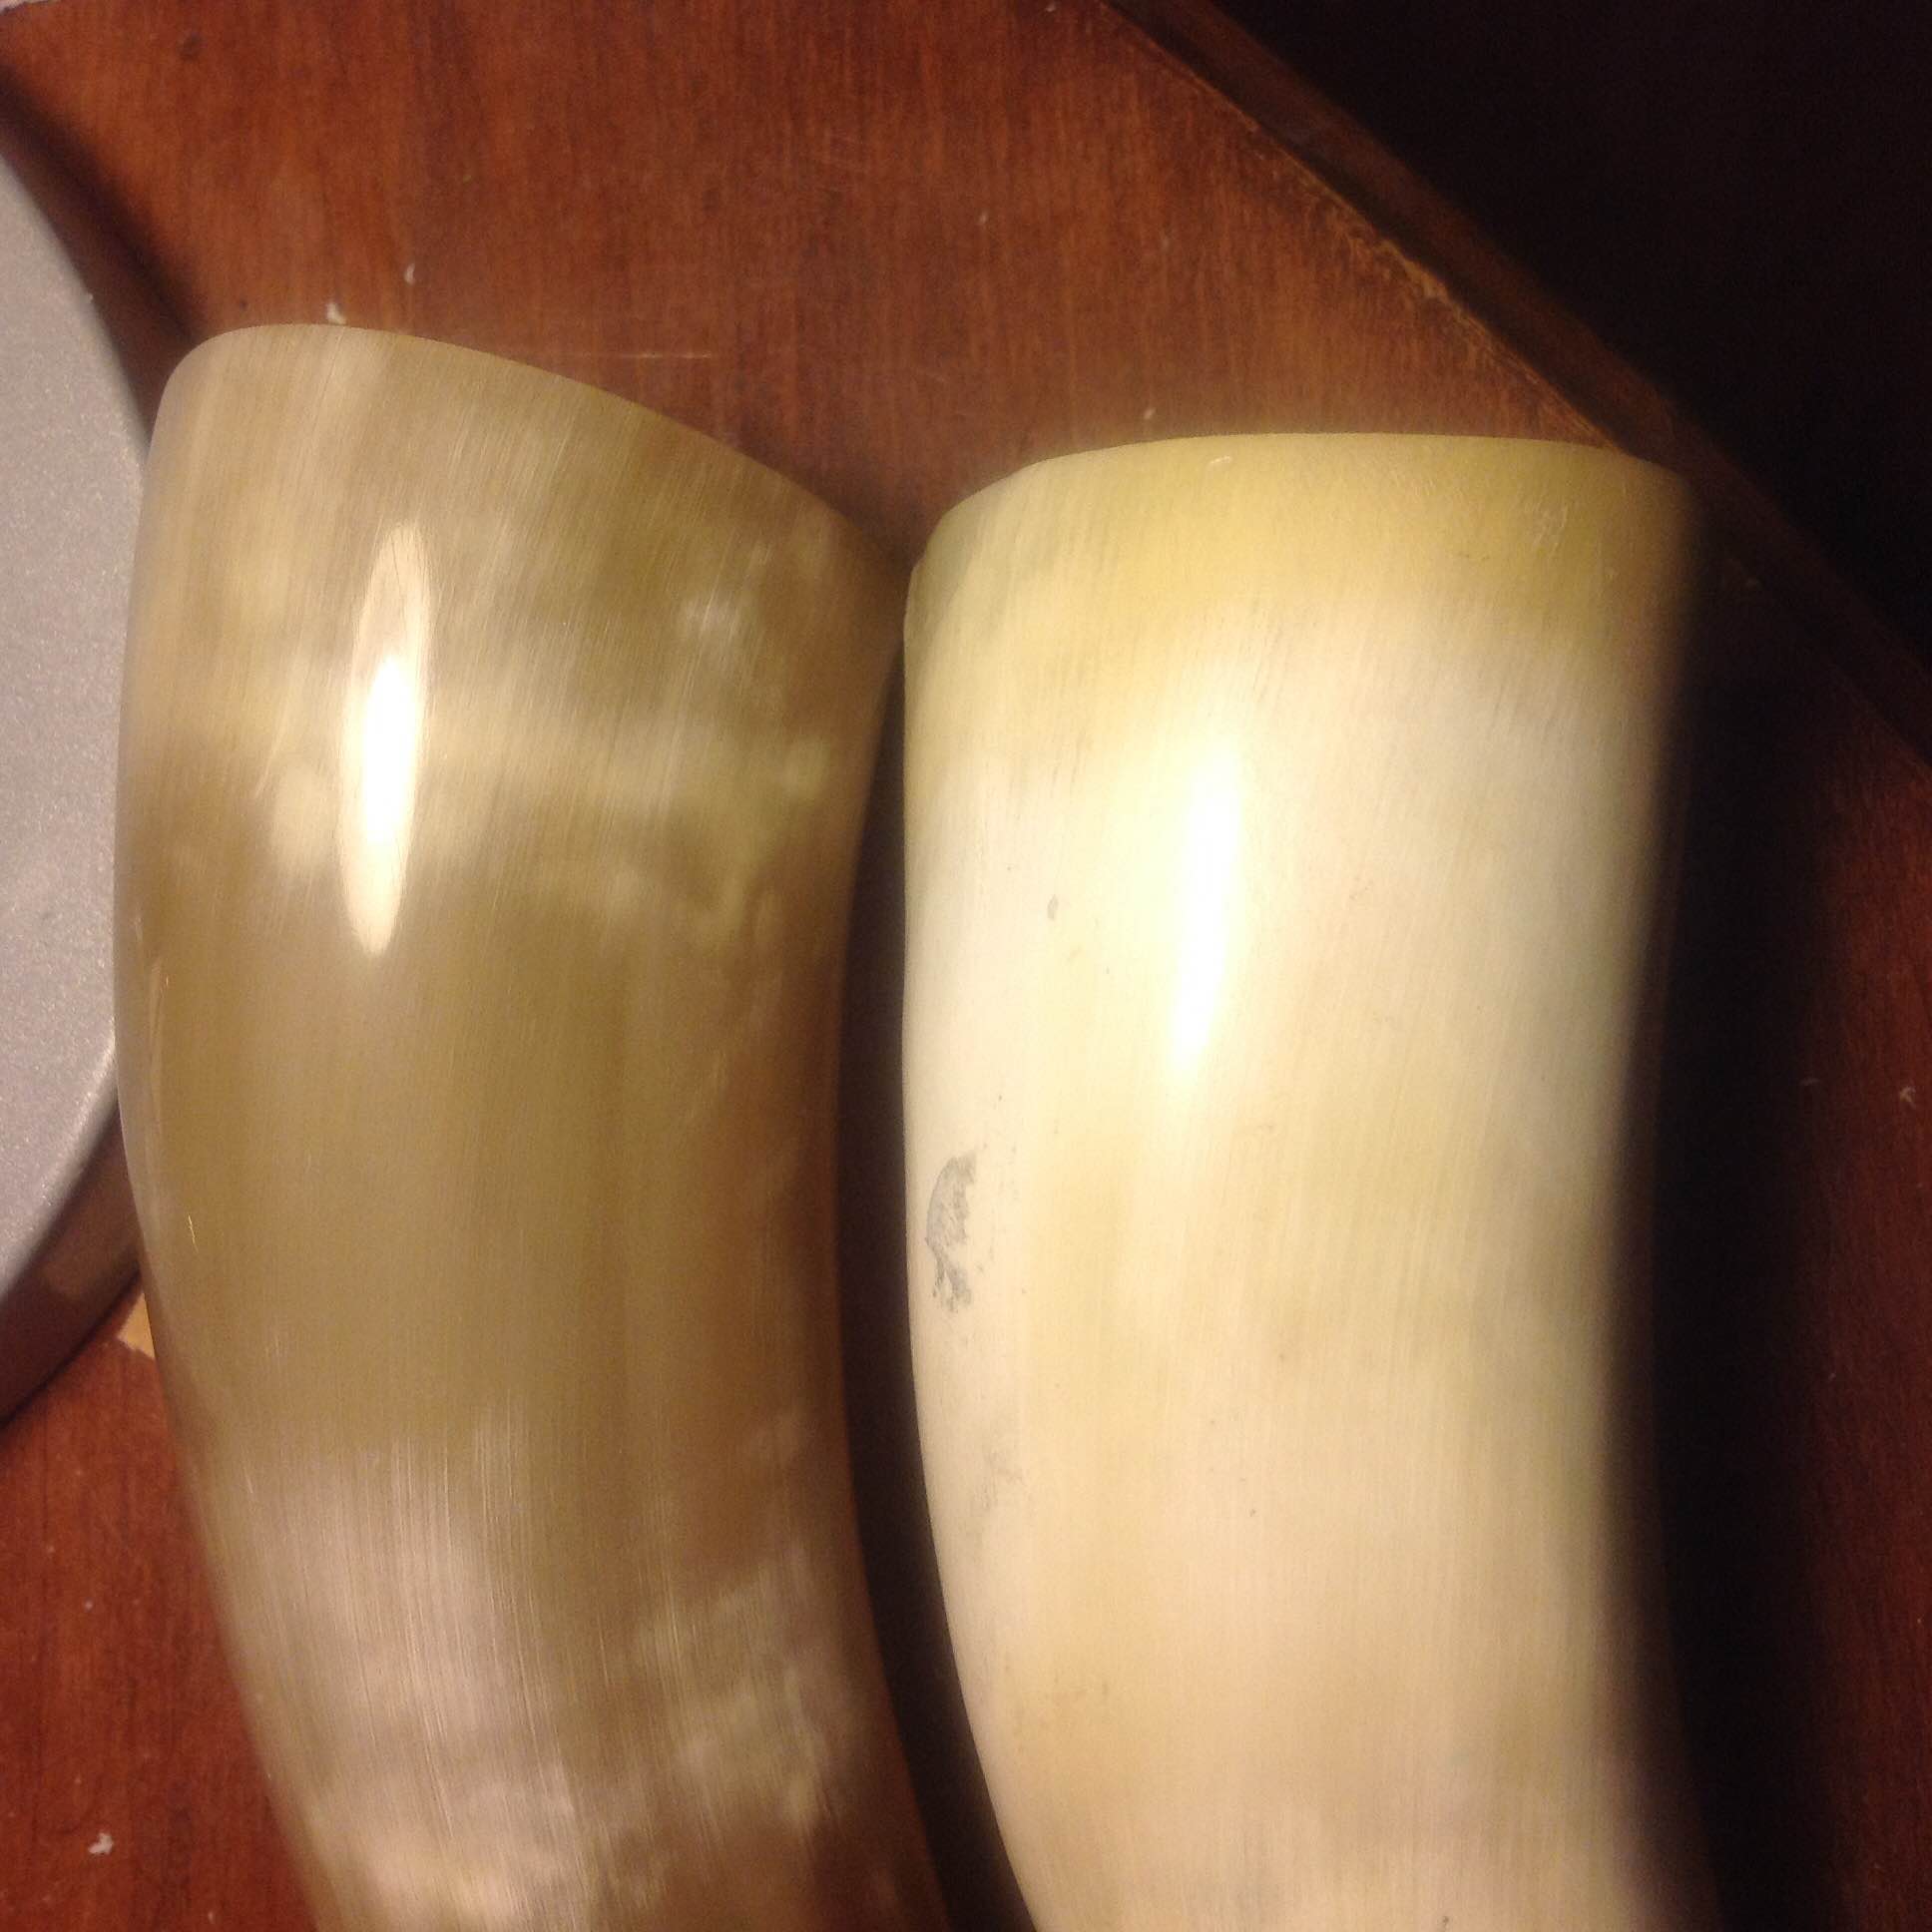 After completing this article I was talking with another scrimshaw artist who promptly sent me the horns he’d hand sanded and polished to 8000 grit then buffed with white tripoli polish. The results are night and day. Where my hasty polishing resulted in a dull finish with crevices (right), his is glass smooth (left).
We’ll be resanding the white one properly before the holidays and creating something or things from it, though time still does not allow for me to create a powderhorn as intended.
Links to Materials and Suppliers
Interesting Related Link:
http://www.bladeforums.com/forums/showthread.php/1013301-My-folders horn material almost too beautiful to scrim on some beautiful custom folders.