Scrimshaw Pocket Knife
A small knife is handy for opening letters and packages, though it’s not what you want to be carrying when flying. See https://traveltips.usatoday.com/knife-carrying-restrictions-aircraft-110179.html for a light article on this subject. They can be a cherished memento as well, passed down from parent to child, or as a gift for the wedding party participants. A scrimshawed pocket knife is a gift that has thought and effort put into it.
Knife handles come with their challenges, from rounded edges to the shape of the handle to fitting the subject so it doesn’t look like it’s been stuffed into the shape, as well as the pins or bolts that hold the ivory or bone to the blade.
Cost is also a factor, with knife prices ranging from about $10.00 into the hundreds or more. A beginning scrimshander would want to keep the costs low, and unless you’re also looking to become a knife crafter, you’ll want something that has the scales already made and attached. If you have the tools, you can create your own scales and attach them to blades that have them bolted on or epoxy them on.
Making a “knife mask” in GIMP
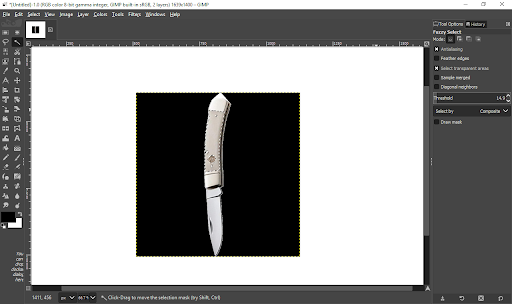
- Take a picture of your knife
- Add black background with the paint bucket
- Remove the scale (make it transparent using the wand selector then clicking “delete)
- Add your design on a new layer, then lower that layer (Layer menu -> Stack -> Lower Layer)
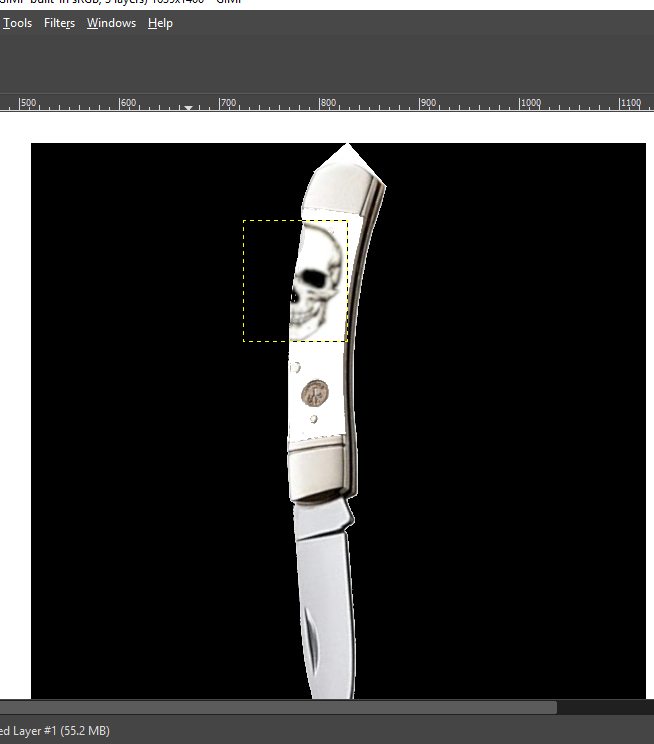
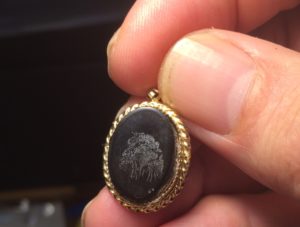
From here, you can scale your subject layer to get a better idea if it works, or if it doesn’t. If you make your “knife mask” the same size as your knife, you can print out the picture, cut out the scale and tape it onto your knife scale and use the “Whaleman’s Technique” (piercing the picture with your stippling tool to make stipples on the scale material underneath). In this picture, the skull is a full head on shot, but the left part of the skull is “masked”. The layer with the skull is just below the knife layer.
Care of the whole knife – masking off the area
Once you have your knife, you’ll want to use masking tape to cover any part of the knife you don’t want to get scratched, and in the case of fixed blade knives, you’ll want to protect the blade (and you) from the edge. Using a folded piece of cardboard can help here, placing the edge into the fold, then securing the cardboard to the knife so it doesn’t slip out. Any metal should be covered with tape as well so it doesn’t get scuffed, dinged or marred while you’re working.

Holding the knife while scrimshawing
“Mortite” caulking worked into a shallow lump can work well if you use low power magnification, adhering it to your work surface. Adhering it to a small board or cardboard base will allow you to move it around easier. Only remove the masking tape once you’ve finished inking and sealing the design with archival wax.
Inexpensive knives
Amazon has a number of knives I’m hoping to work on this summer, mostly small ones. My favorite is the “sunfish” design, but they’re notoriously out of stock or are collectors items on eBay – a bit out of my hobby wallet at this point.
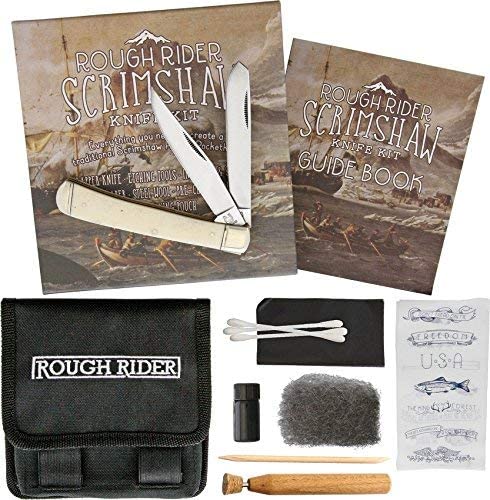
As a gift for yourself or someone interested in learning scrimshaw, here’s an inexpensive kit featuring a rough rider double bladed knife and all of the tools you’ll need. I’d recommend a sharpening stone to hone the point as well: a sharp point pn your scribe makes a big difference in stippling as well as incising lines. A 000 paintbrush (available in most art and department stores) is also helpful, especially if you’re going to add more colors. Available as a kit on Amazon. Read further, as you may wish to get a lockback knife instead…

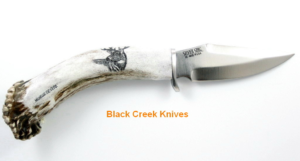
The Boker is my second favorite knife, though more expensive. There’s ample room behind their insignia to scribe a ship, and a lighthouse would look nice here, too.
Sporting a lockback, this one is good if you’re prone to mishandling knives as I was in my youth. My trusty knife didn’t have a lockback, and I was real good at sharpening, as I found out when the blade folded over my fingers while I was trying to drill a hole in a piece of wood. Another lesson I learned was use the right tool for the right job. Fortunately I kept my fingers. Unfortunately that was the last time I saw that knife after my Mom bandaged me up.
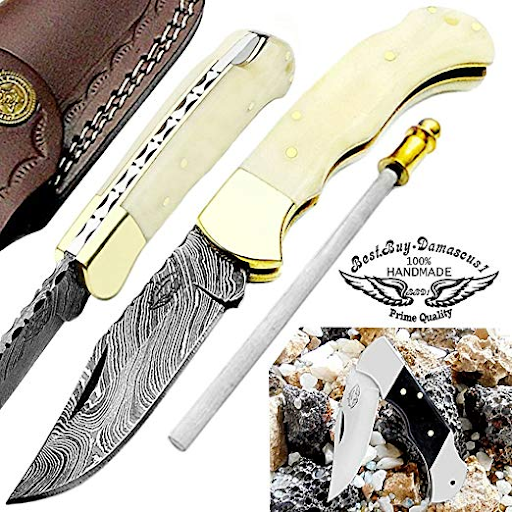
Pocket Knife Camel Bone 6.5” Damascus Steel – https://amzn.to/2FZpcTQ
Make your own knife scale for these:
You can cut your own knife scale out of bone, paper micarta, ivory alternative (or mammoth ivory, if it’s legal in your state). Some of the kits have pieces you can trace and cut with a scroll saw or keyhole saw, or you can cut a paper that fits and transfer this onto the material. For the holes, be sure to leave enough material for the head to hold it onto the knife itself – the bolts have a slightly wider head than their bodies, or laminate a contrasting wood, horn or durable plastic to the underside of your scale. Here are a few examples:
Only 2-⅞” blade, bone scale would be about 1″:


Eafengrow EF17 Folding Pocket Knife –
Kit Knives

Rough Rider Custom Shop Small Lockback Knife Kit –

FLX25 Frame Lock Folding Knife – DIY Parts Kit –
There are fixed blade knives as well, they can be found with handles attached:


Elk Ridge Fixed Blade Bone Handle –
Or as kits, where you just have the blade itself (and some come with the bolts, too):


ColdLand Hand Forged Damascus –

What ever style you decide to create, practice first, take it slow, and enjoy the process. Whether it’s a knife you carry or a knife you gift, it will be a treasure to the owner.