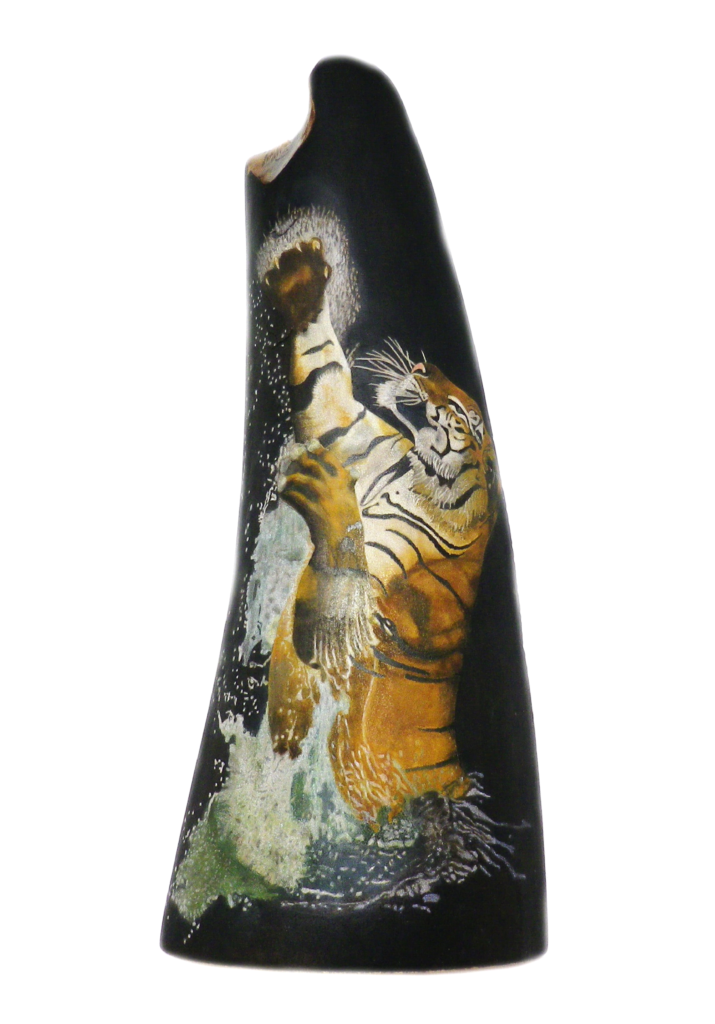
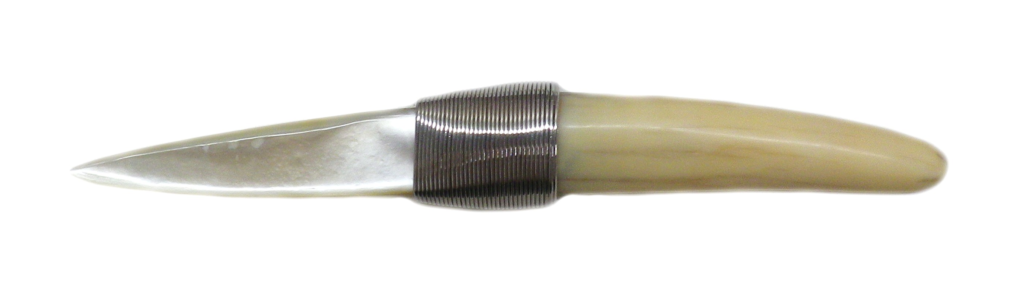
Rod Lacey has shared his latest scrimshaw on a fascinating letter opener that he could only obtain as a gift.
“I have chosen this picture because I have a small letter opener that I have had for many years, it has an ivory handle, and the size and shape should fit.
The ivory is Dugong Ivory from Thursday Island at the northern tip of Eastern Australia. A local made it and gifted it to me. The handle is fashioned from Dugong Ivory, and blade is from Pearl Oyster Shell. I embellished it with 925 wires that I have rhodium plated.
Length 17.5cm x 2.5 (6.89″ x 0.98″) wide, weight all up 78 grams (2.75 oz).
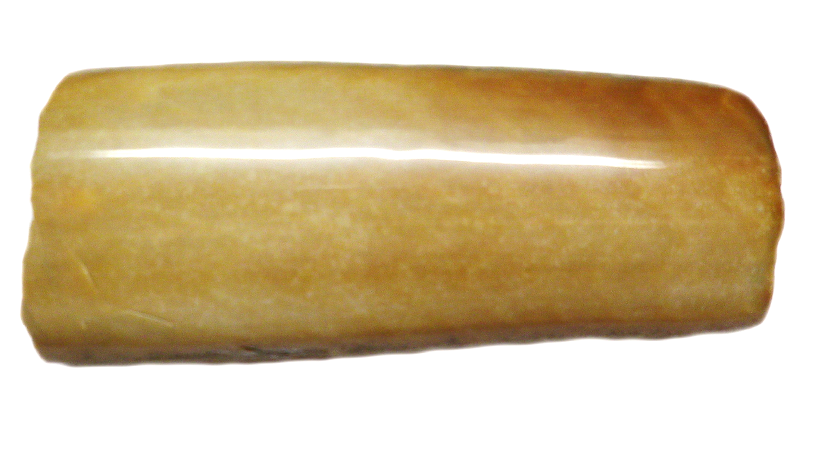
[Dugong are also known as “sea cows” among other names, and are scattered throughout the world in warmer waters. As an endangered species they cannot be hunted. Rod writes: “The only legal way to acquire a piece is to have it gifted to you by an Aboriginal/Torris Strait Islander.”
Stage 1 -14/6/20
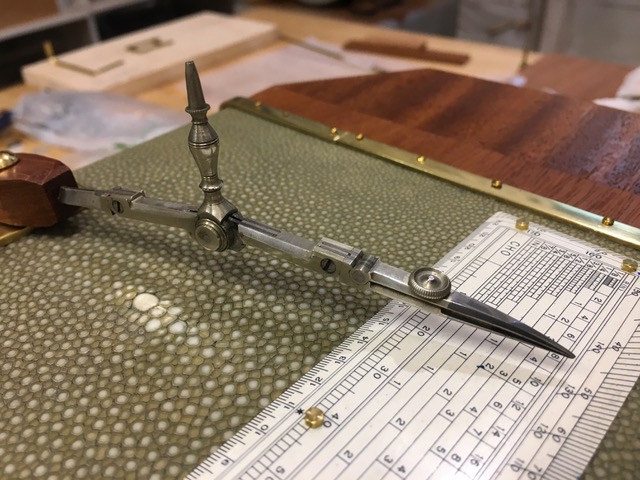
This picture shows the Letter Opener ready to be scrimshawed.
This picture shows the Letter Opener ready to be scrimshawed.
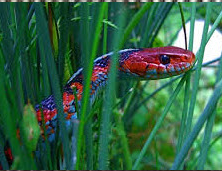
This picture shows the ivory with the snake picture attached and ready to have the basic outline cut out.

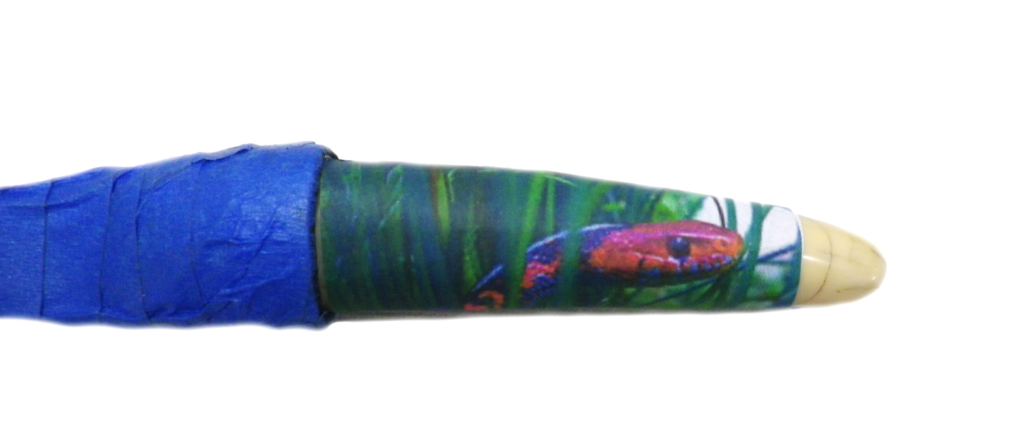
This picture shows the outline cut out and with black oil paint applied. I will now do the background.

This picture shows the background finished. Next, I will do the snake in the grass.

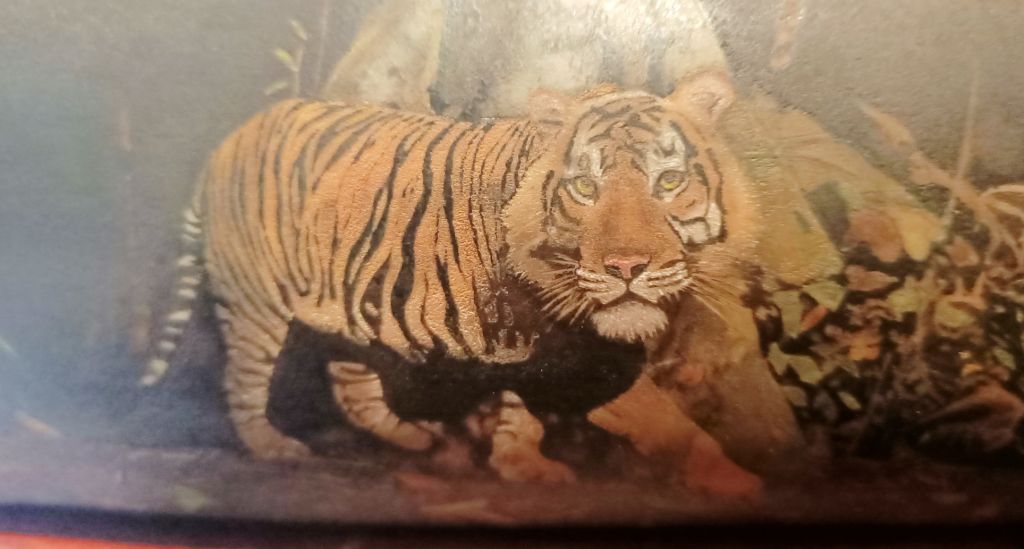
This picture shows the finished scrimshaw. I will do the base next.

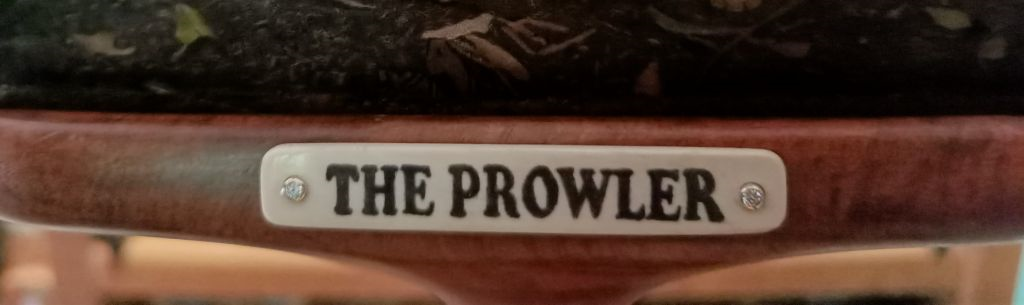
This picture shows the base with the Paper Opener sitting in its cradle. Not sure what the wood is but it has a fantastic grain. I have fitted a mammoth ivory nameplate with Mother of Pearl embellishments, I borrowed this idea from a David Adams scrimshaw.