Month: May 2015

Sealing Bone Scales – Take 2

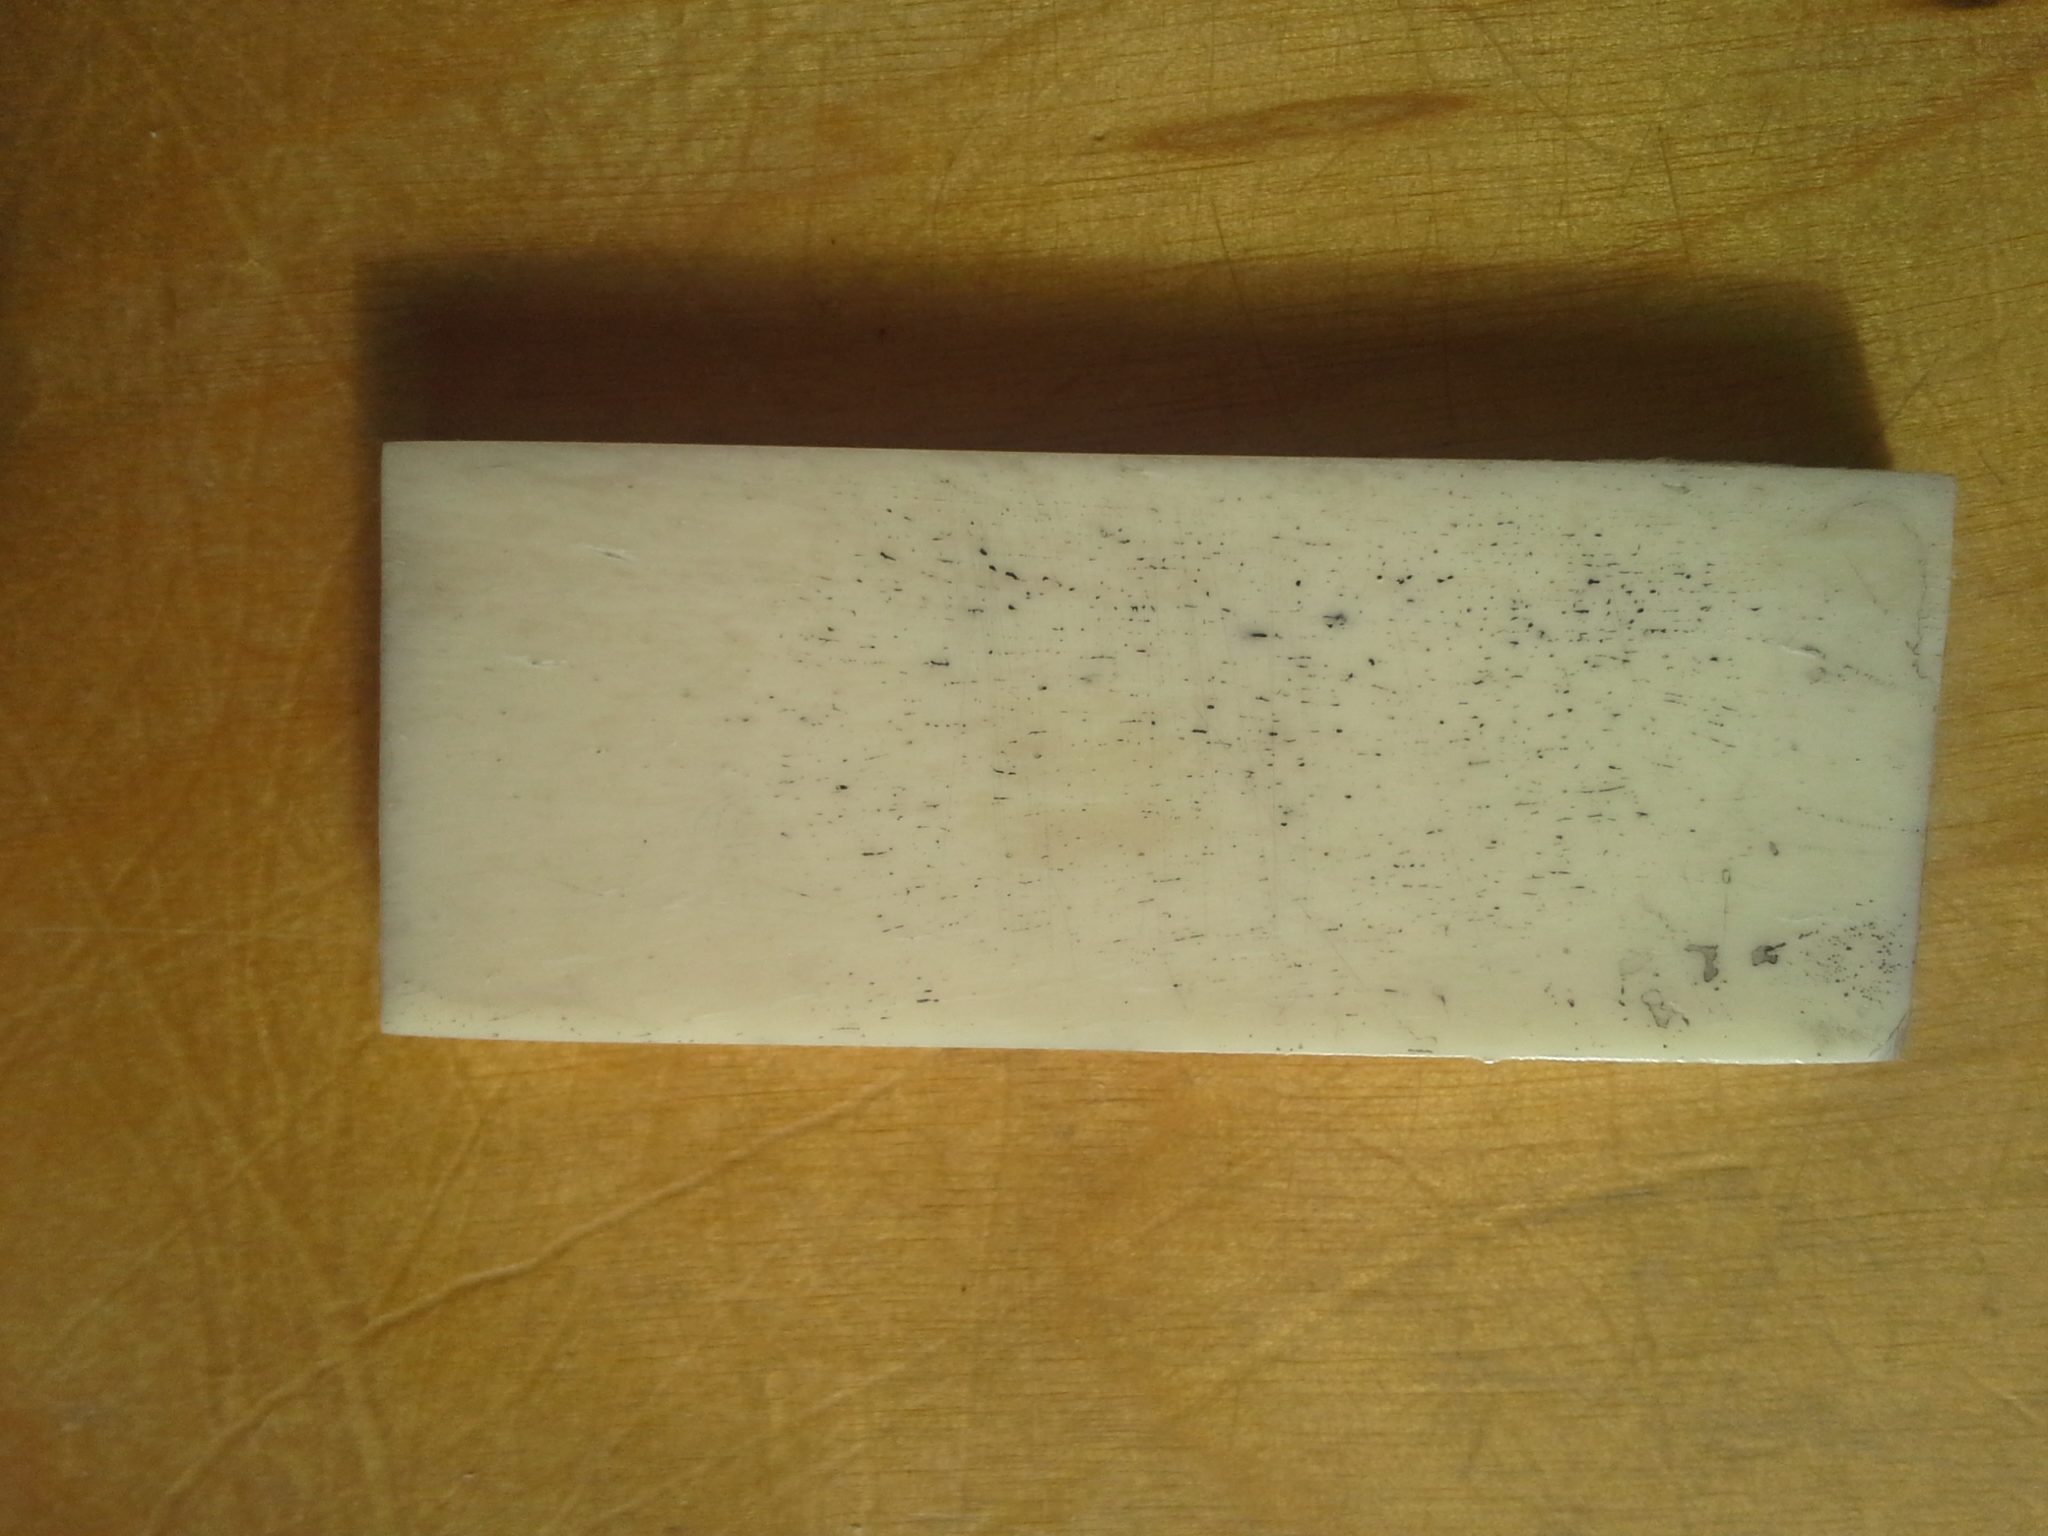
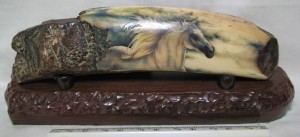
Last time, we tried just filling the voids in the bone scales with wax. This gave us spotty results – literally. Working with a couple of different formulations of cyanoacylate, we’re at the point of – still looking.

Loctite Plastic bonding with separate accellerator pen
Good for intended purpose, not so much for ours.

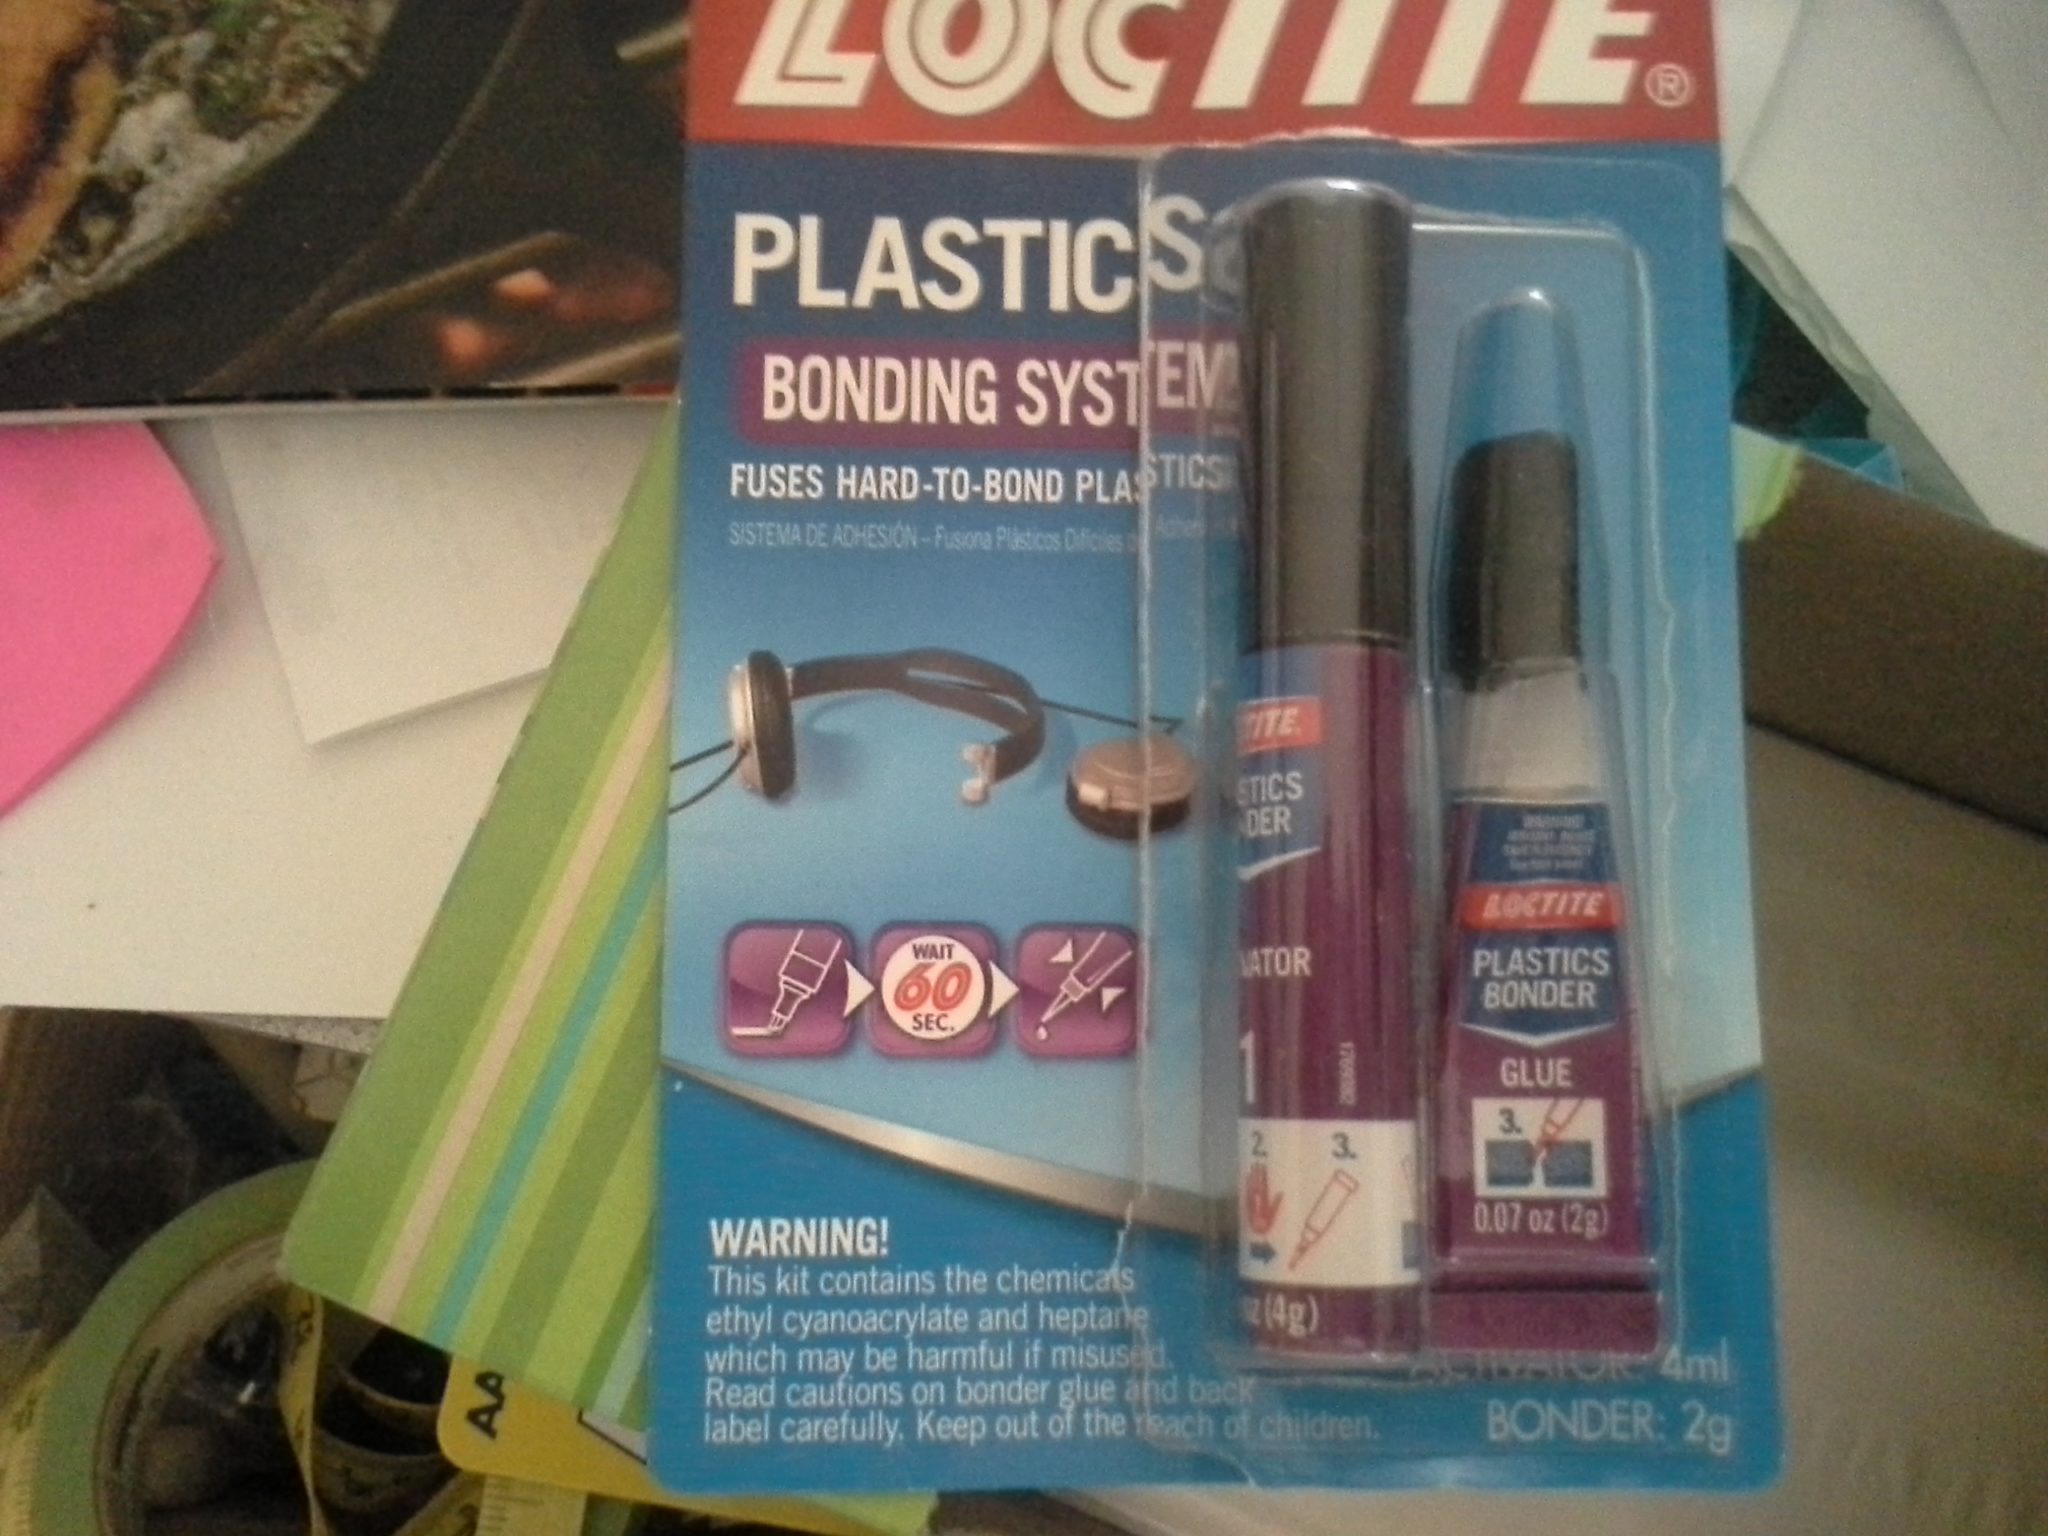
We attempted to follow the luthier’s method of building up the material with the bone dust from sanding the bone smooth and used  Loctite Plastic Bonding System which had an “accelerator” in the form of a marker made for gluing difficult materials.  This didn’t work well at all.

Loctite Super Glue
Liquid – not gel. Wear safety goggles as the vapors burn your eyes!

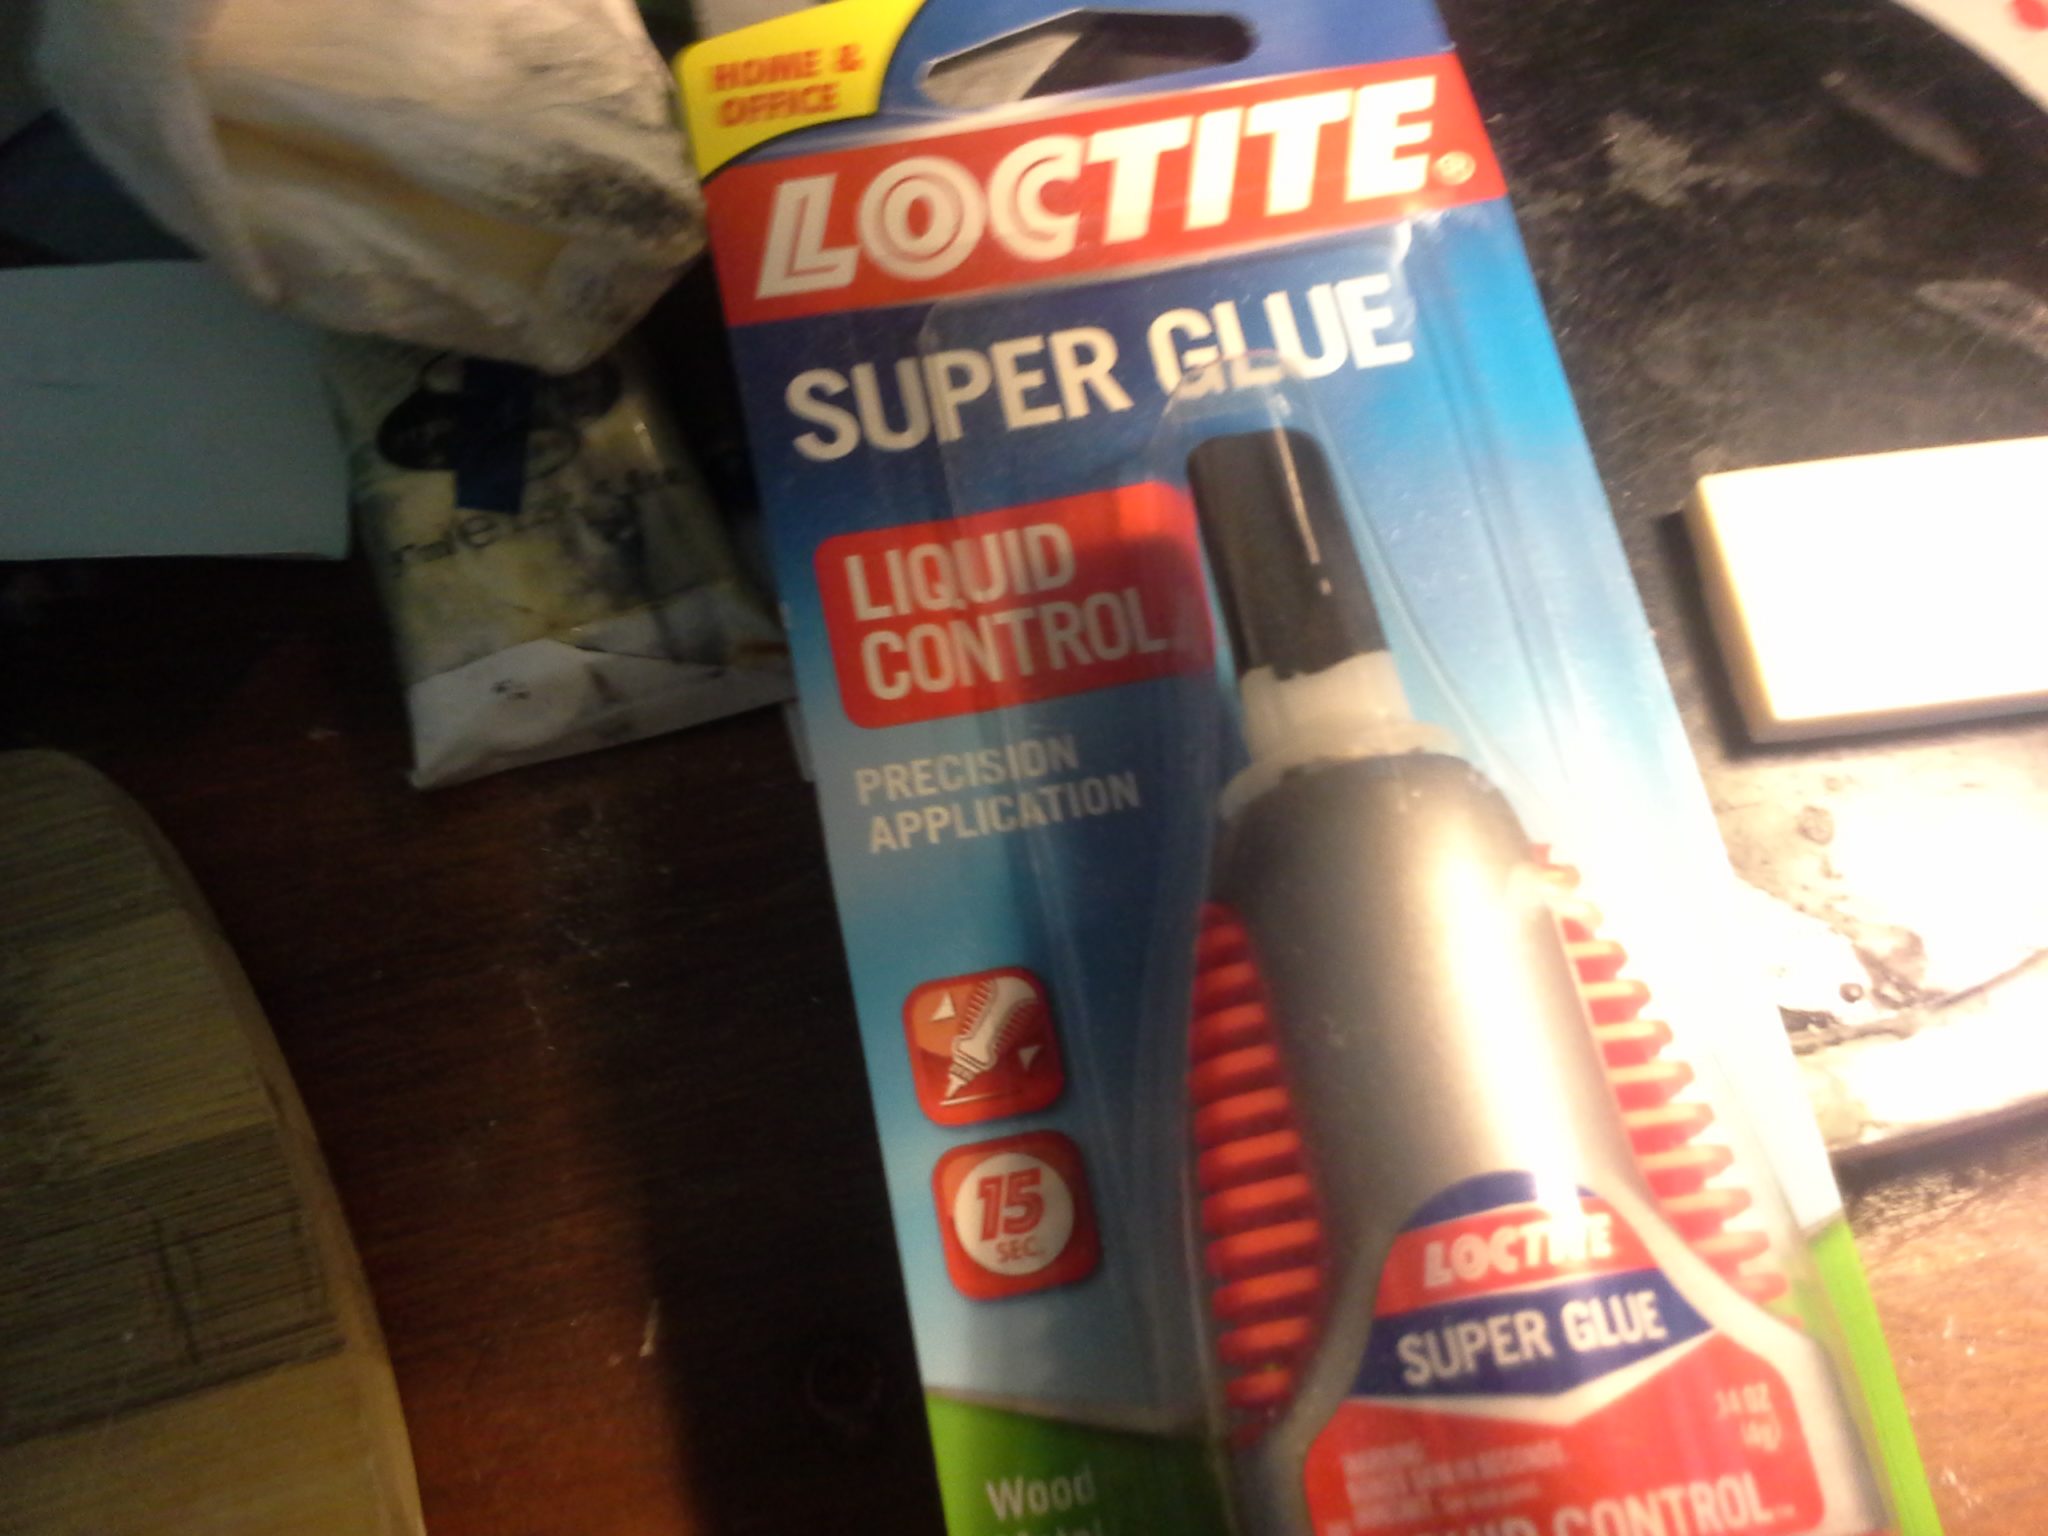
Next, we attempted to use some more off the shelf superglue – Loctite Super Glue LIQUID (not the gel, as we want this to seep into the cracks and fill them in). Piling the bone dust up and squirting the glue on made – a mess, though it might look better once it’s sanded down.


powdered bone and superglue on the left, just liquid on the right
Powdered bone on the left, liquid alone on the right


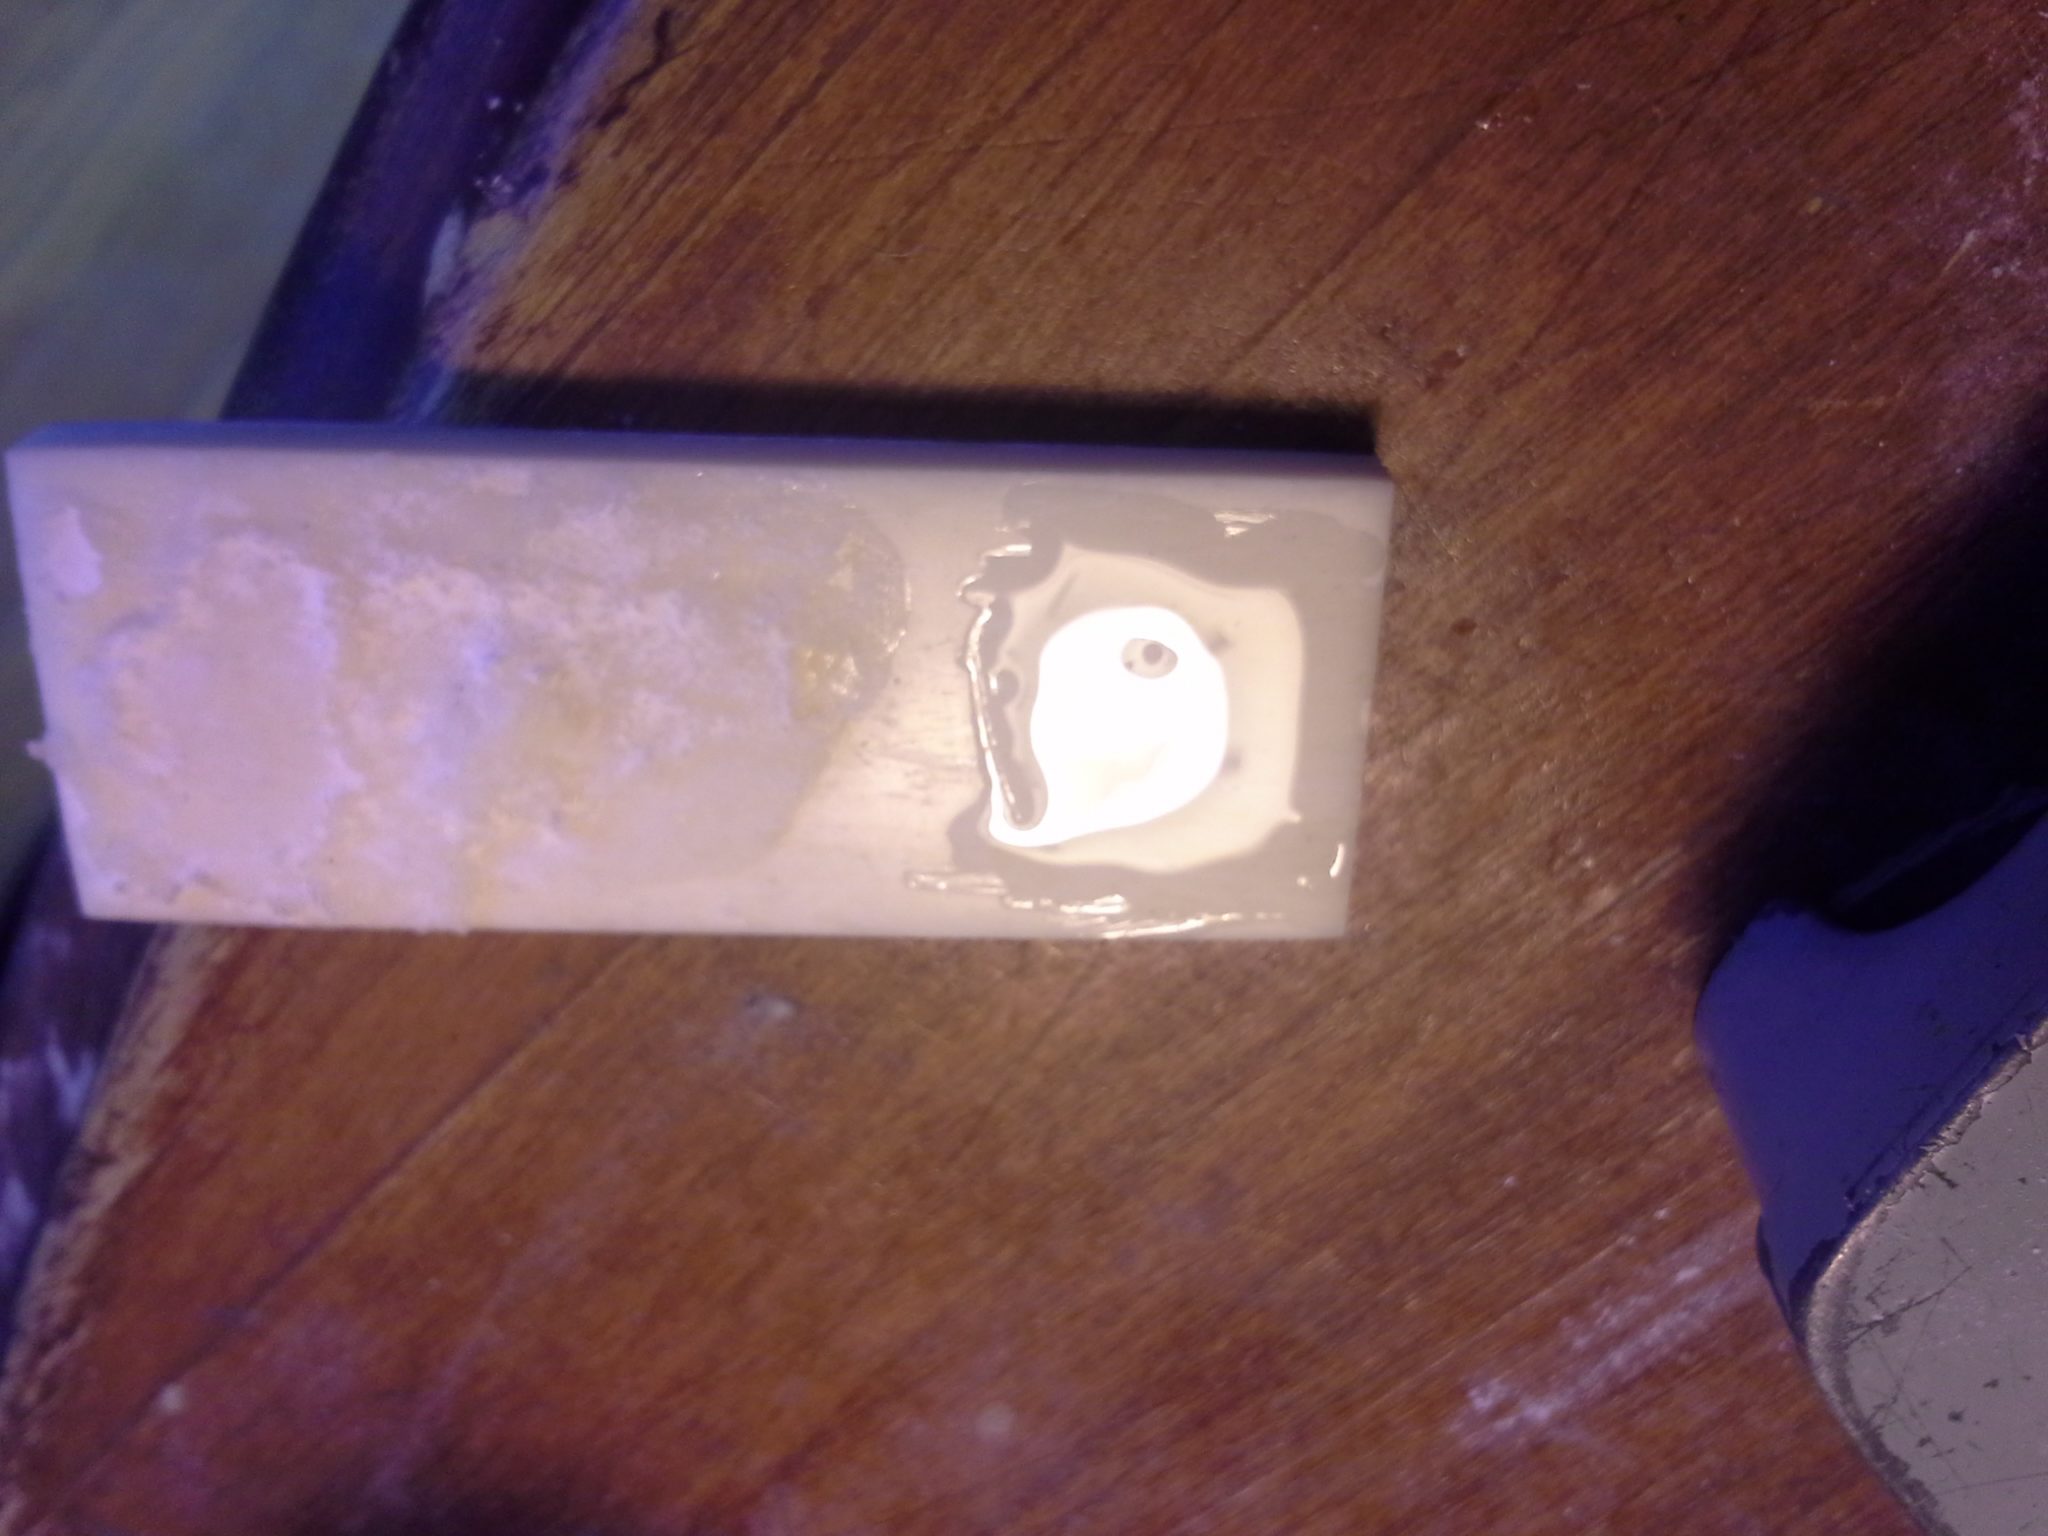
While we were waiting we looked at the other side of the bone and decided to just lay the glue straight down on that side to see if it worked any better.  My thoughts at the moment are that either (1) the bone dust is too fine and can’t saturate well (like lumps in the pancake batter when you make it from scratch) or (2) I need an even slower curing superglue.


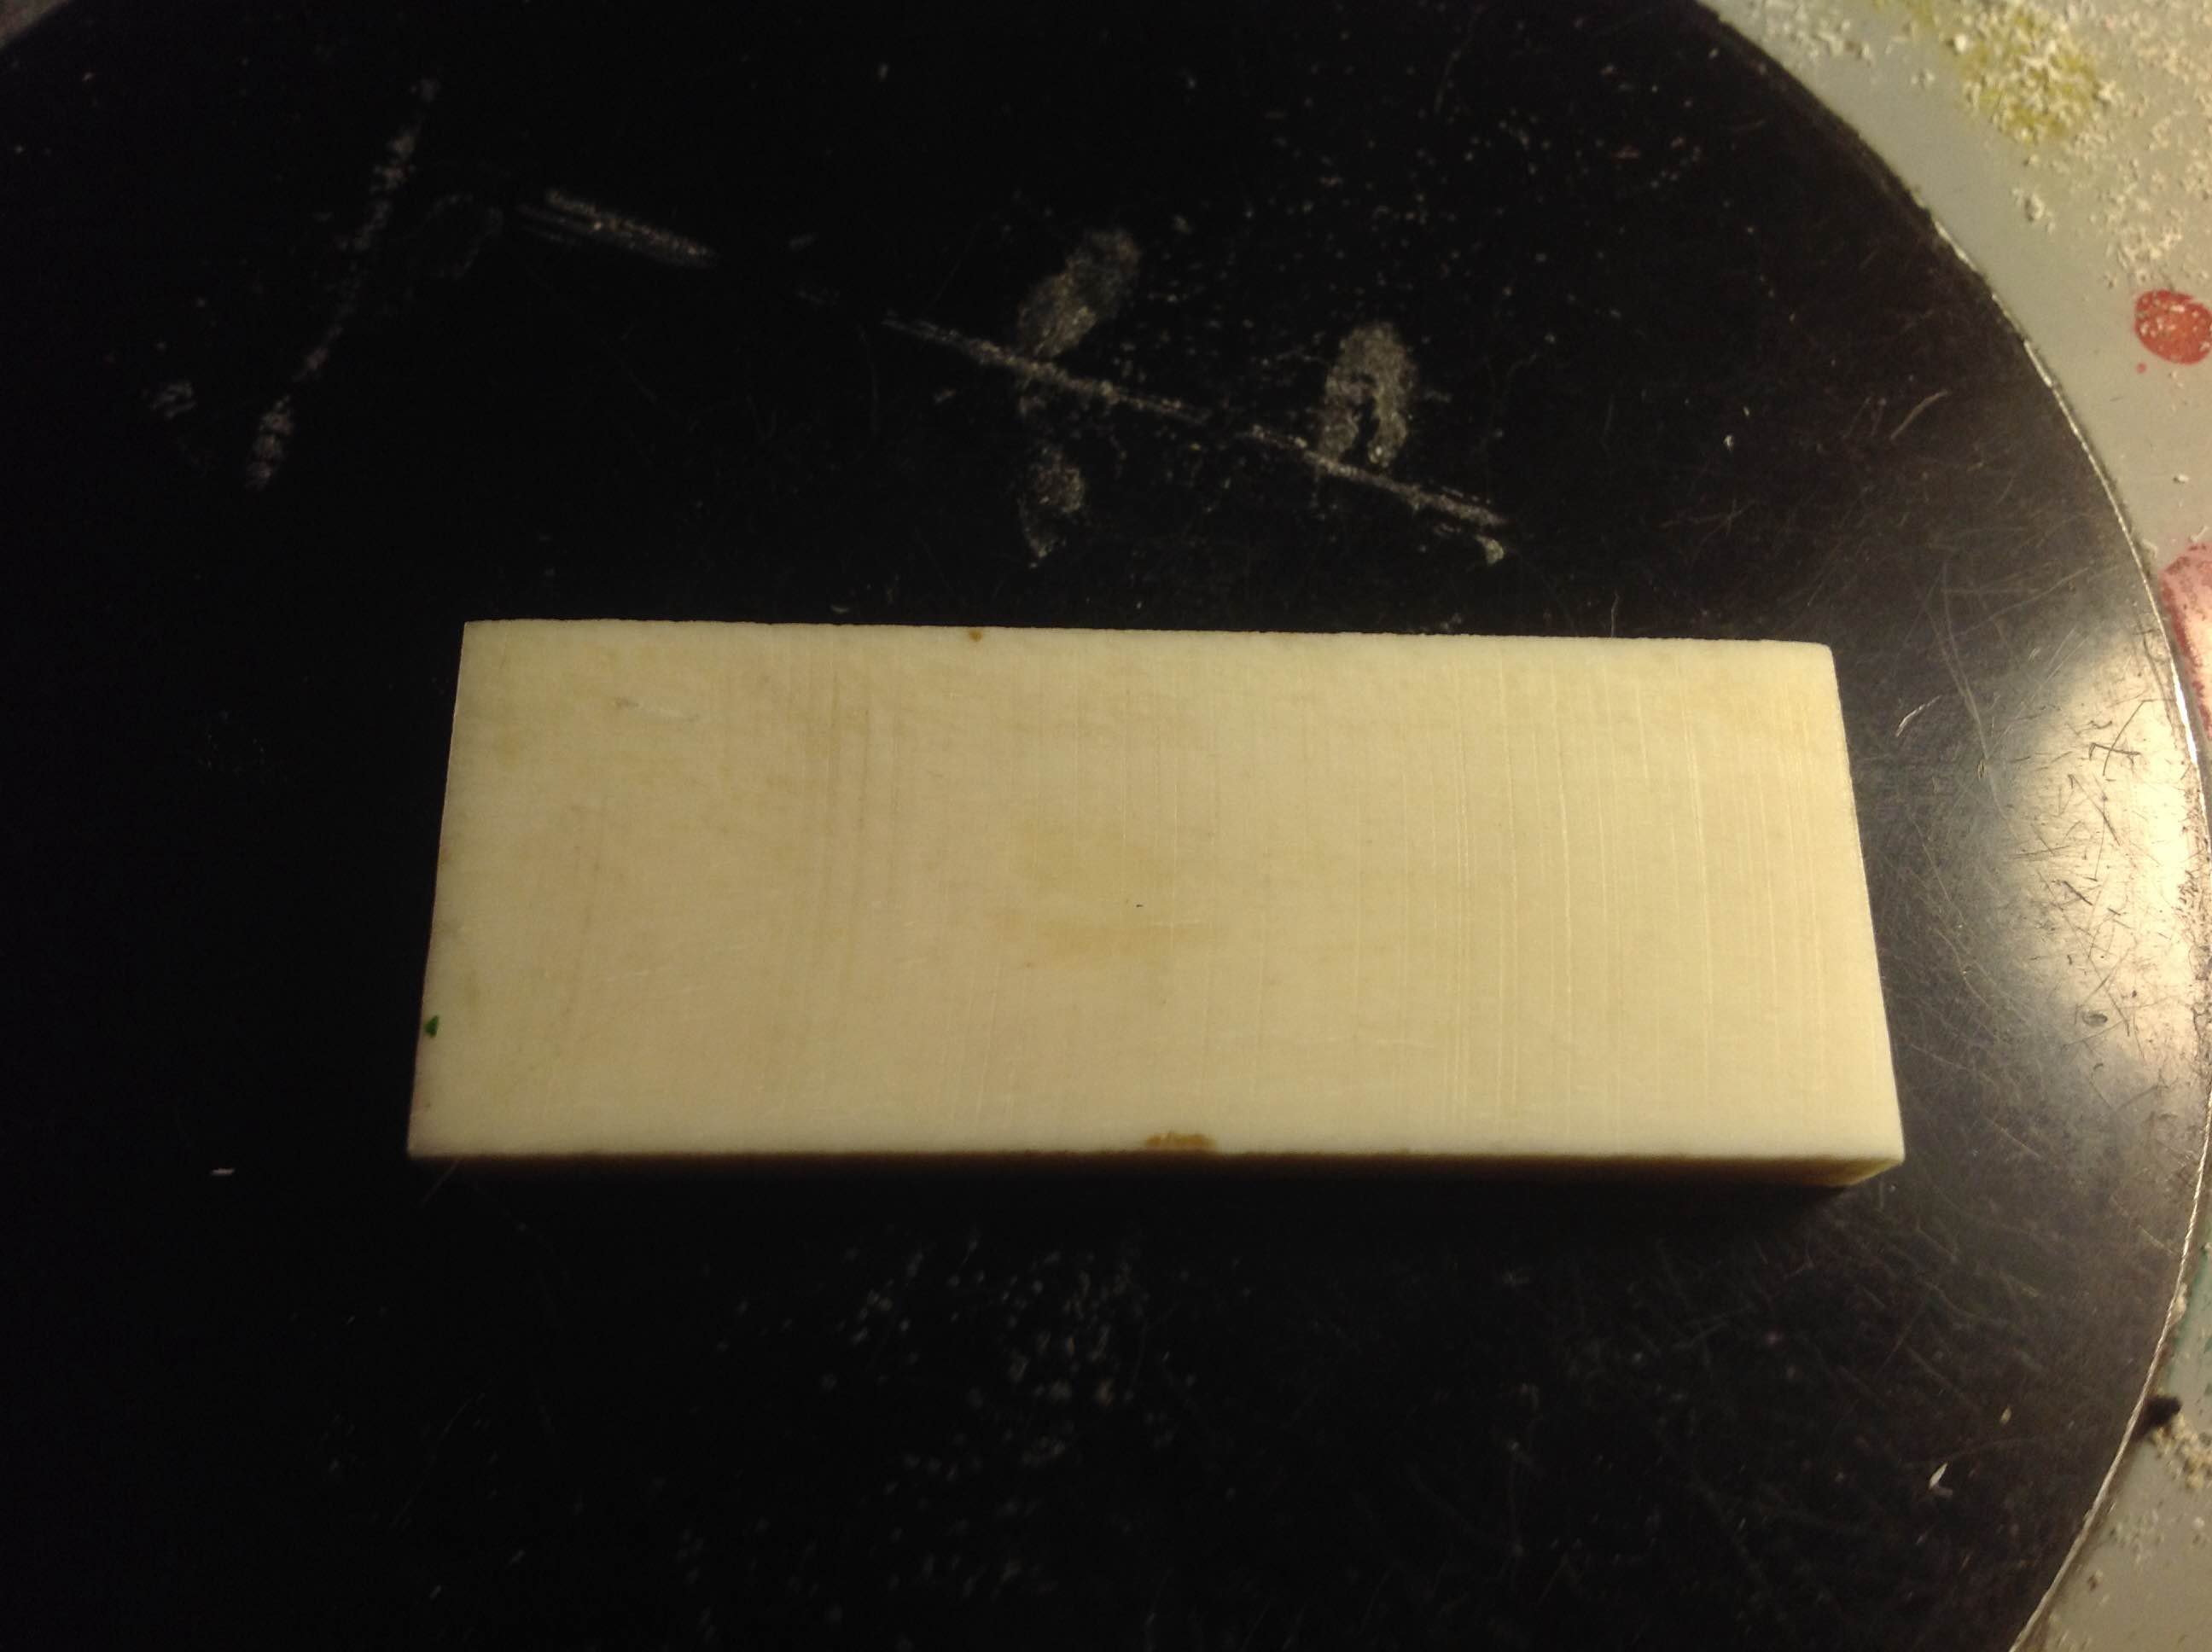
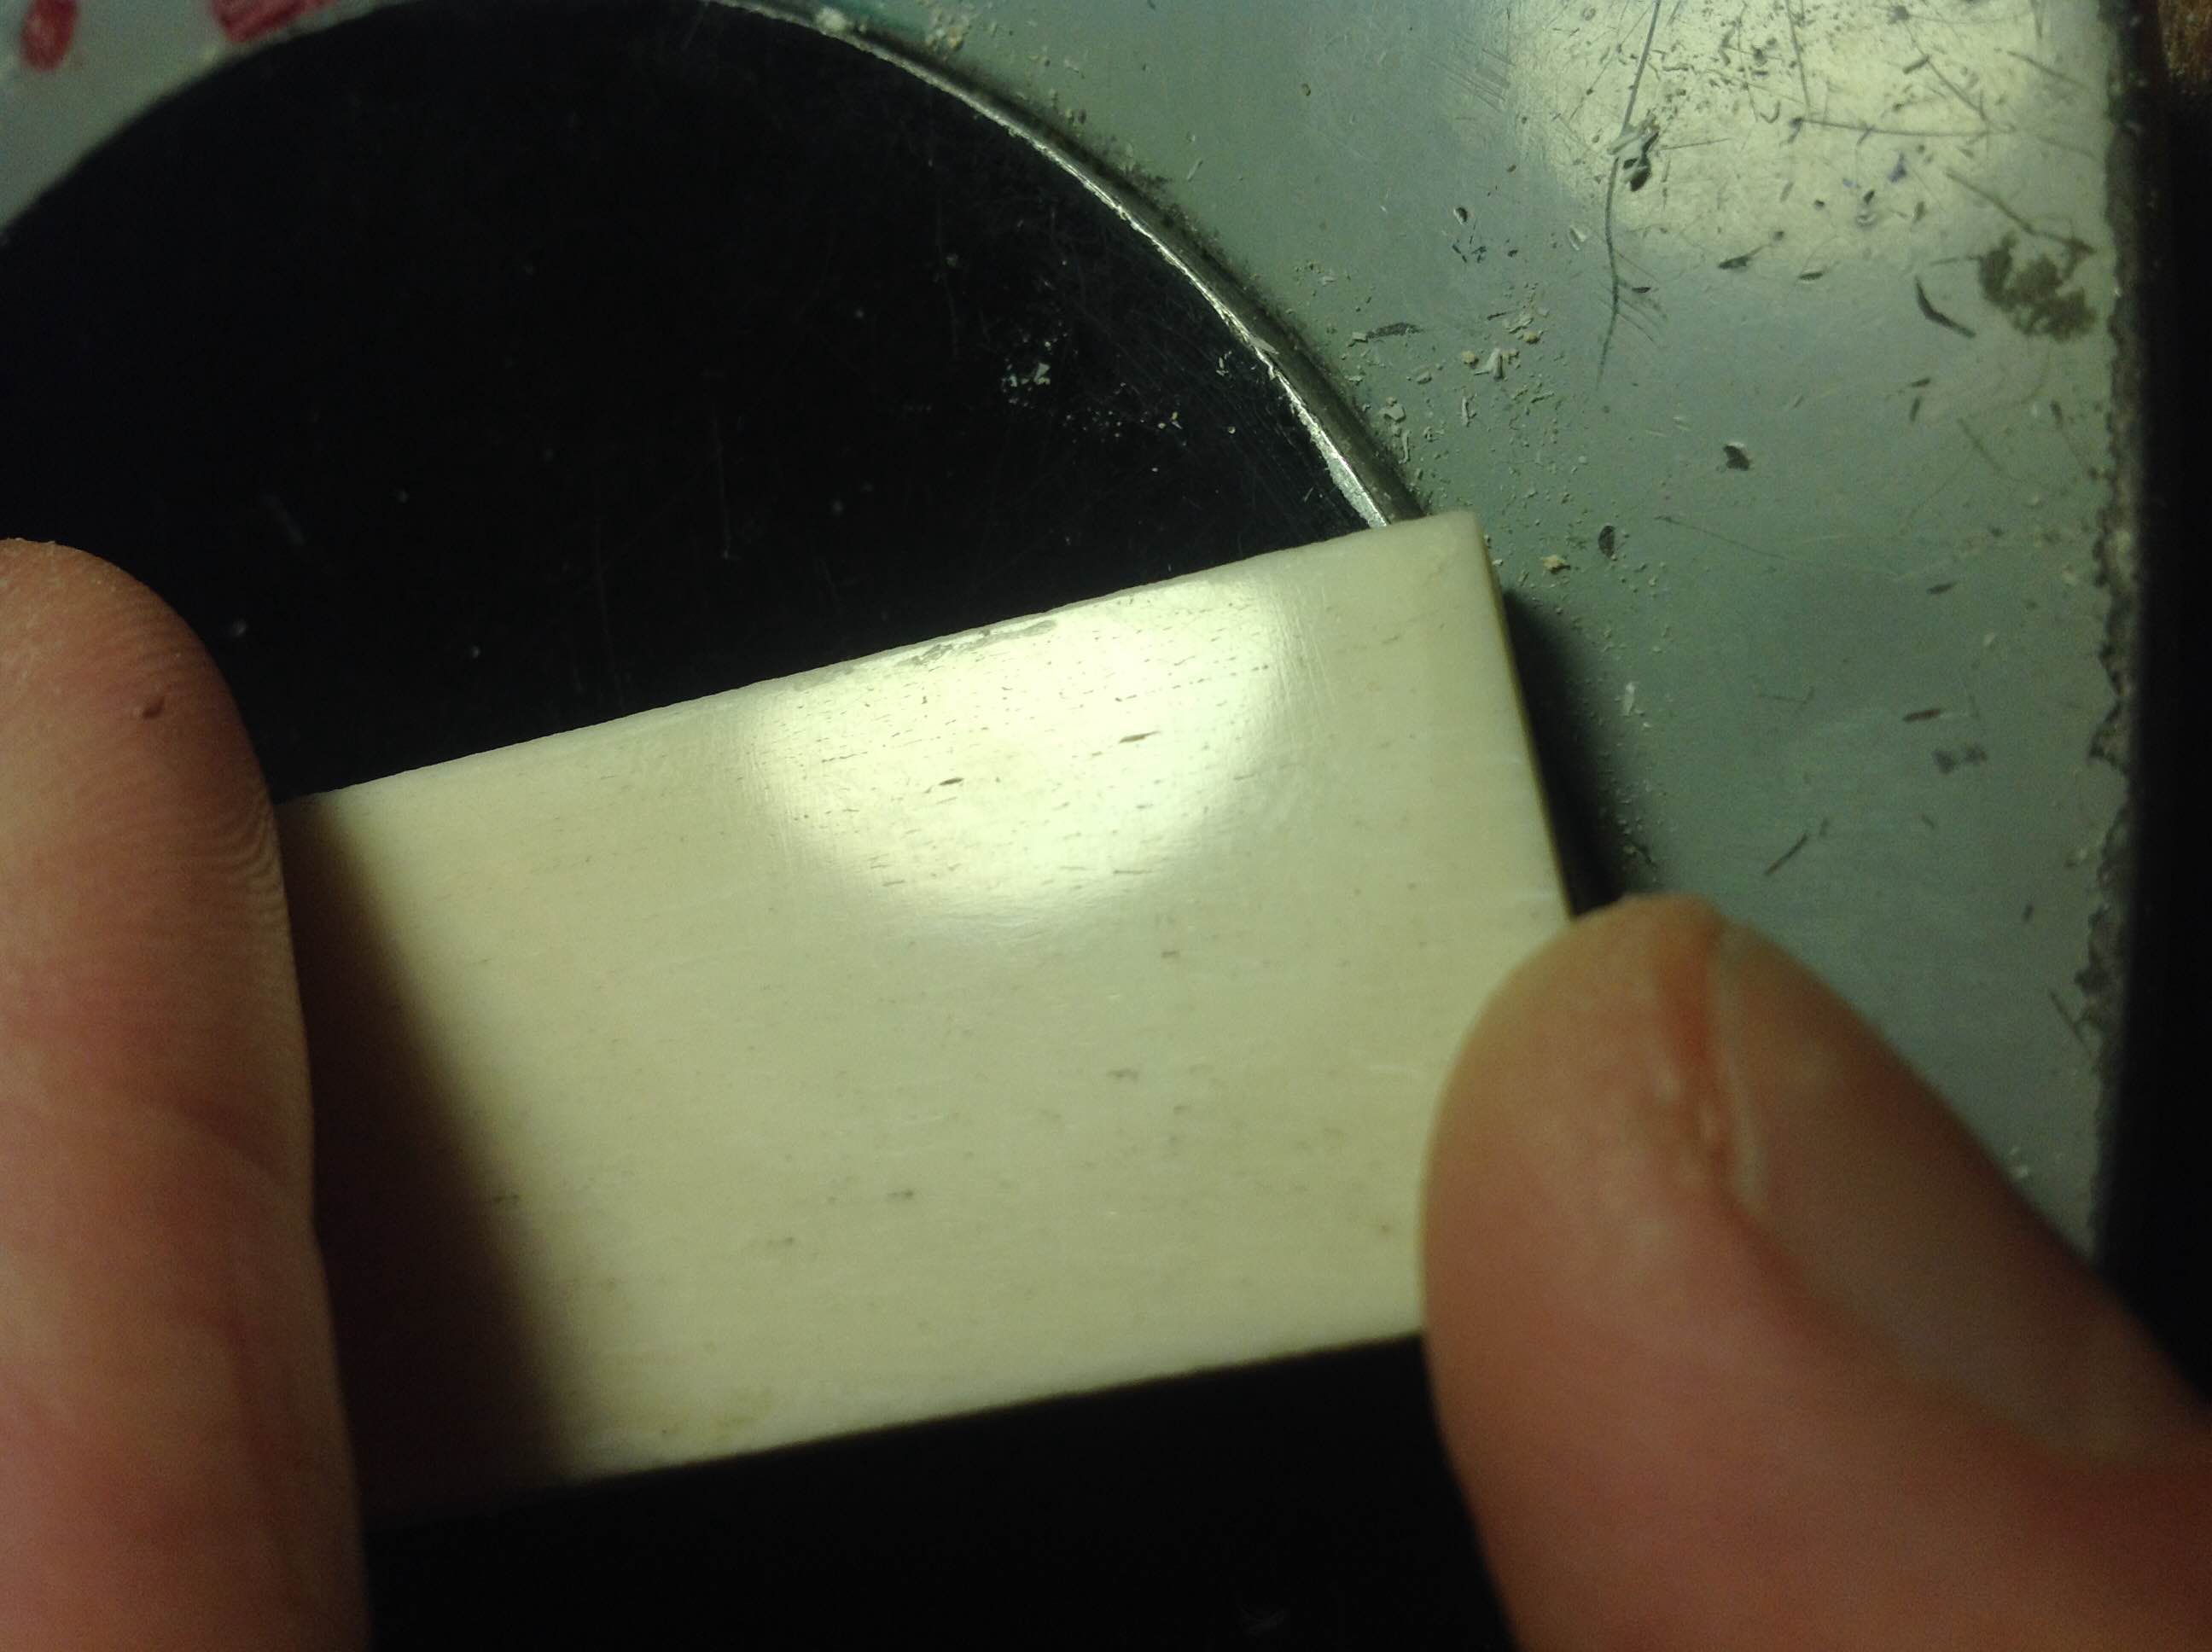
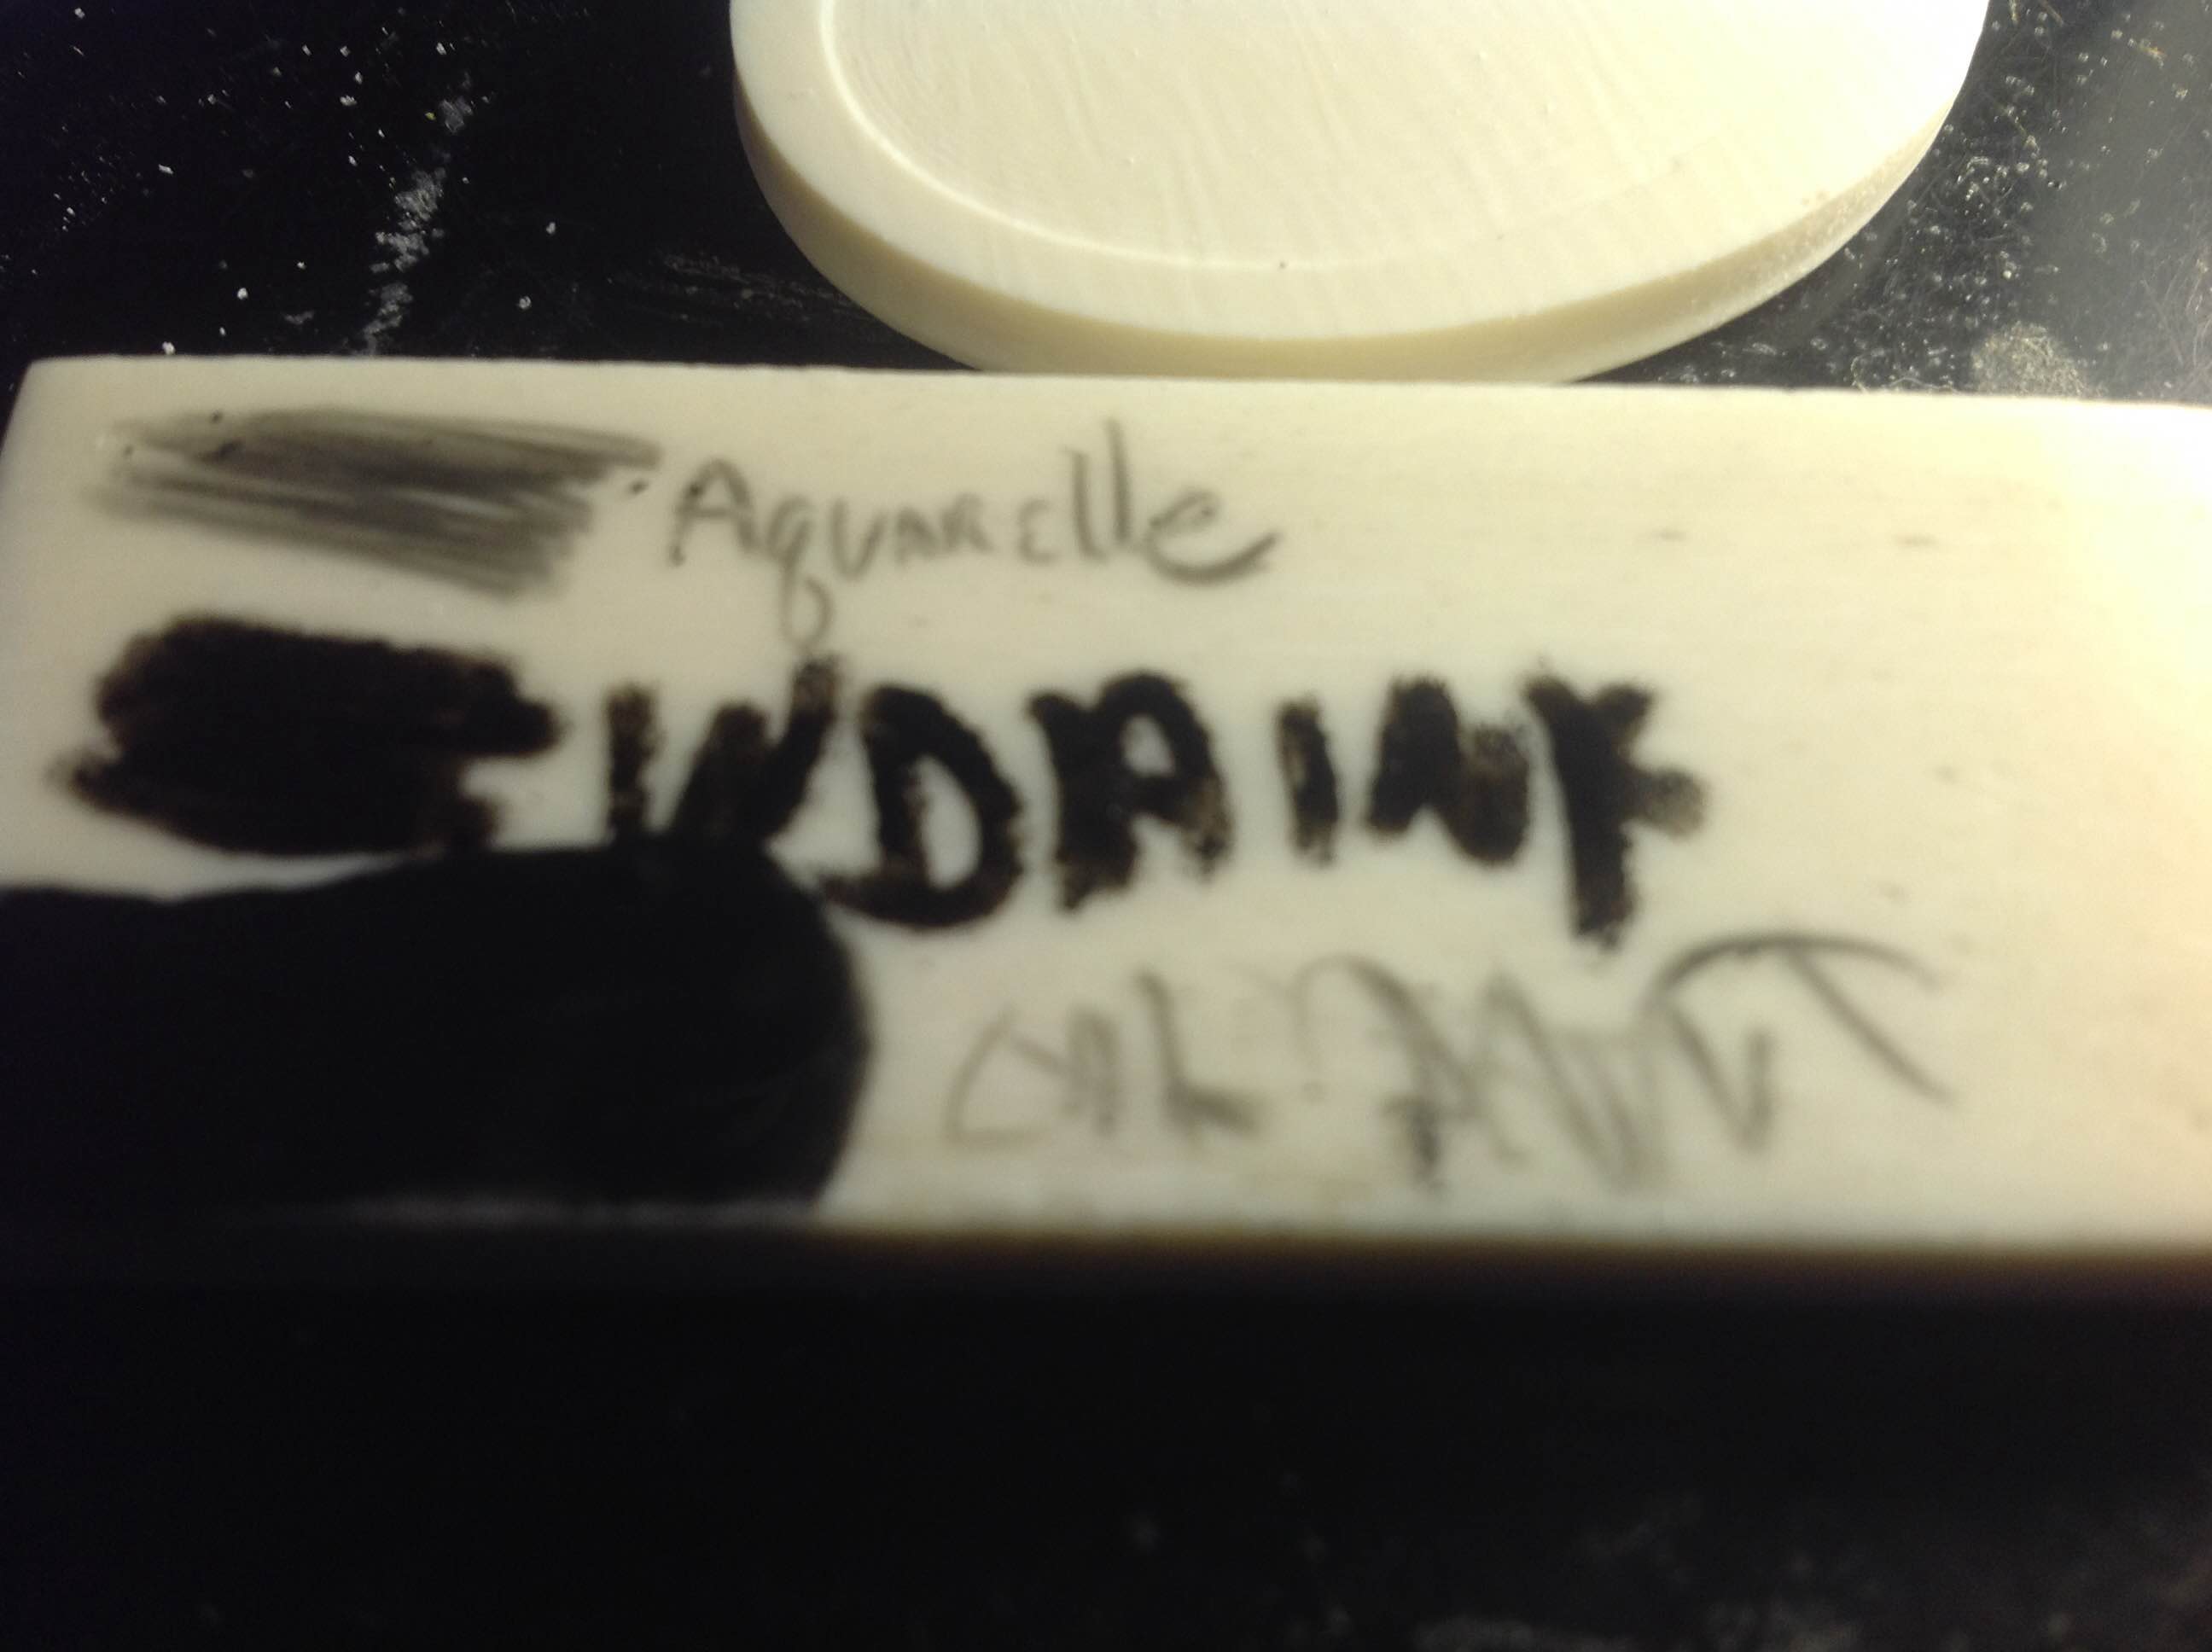
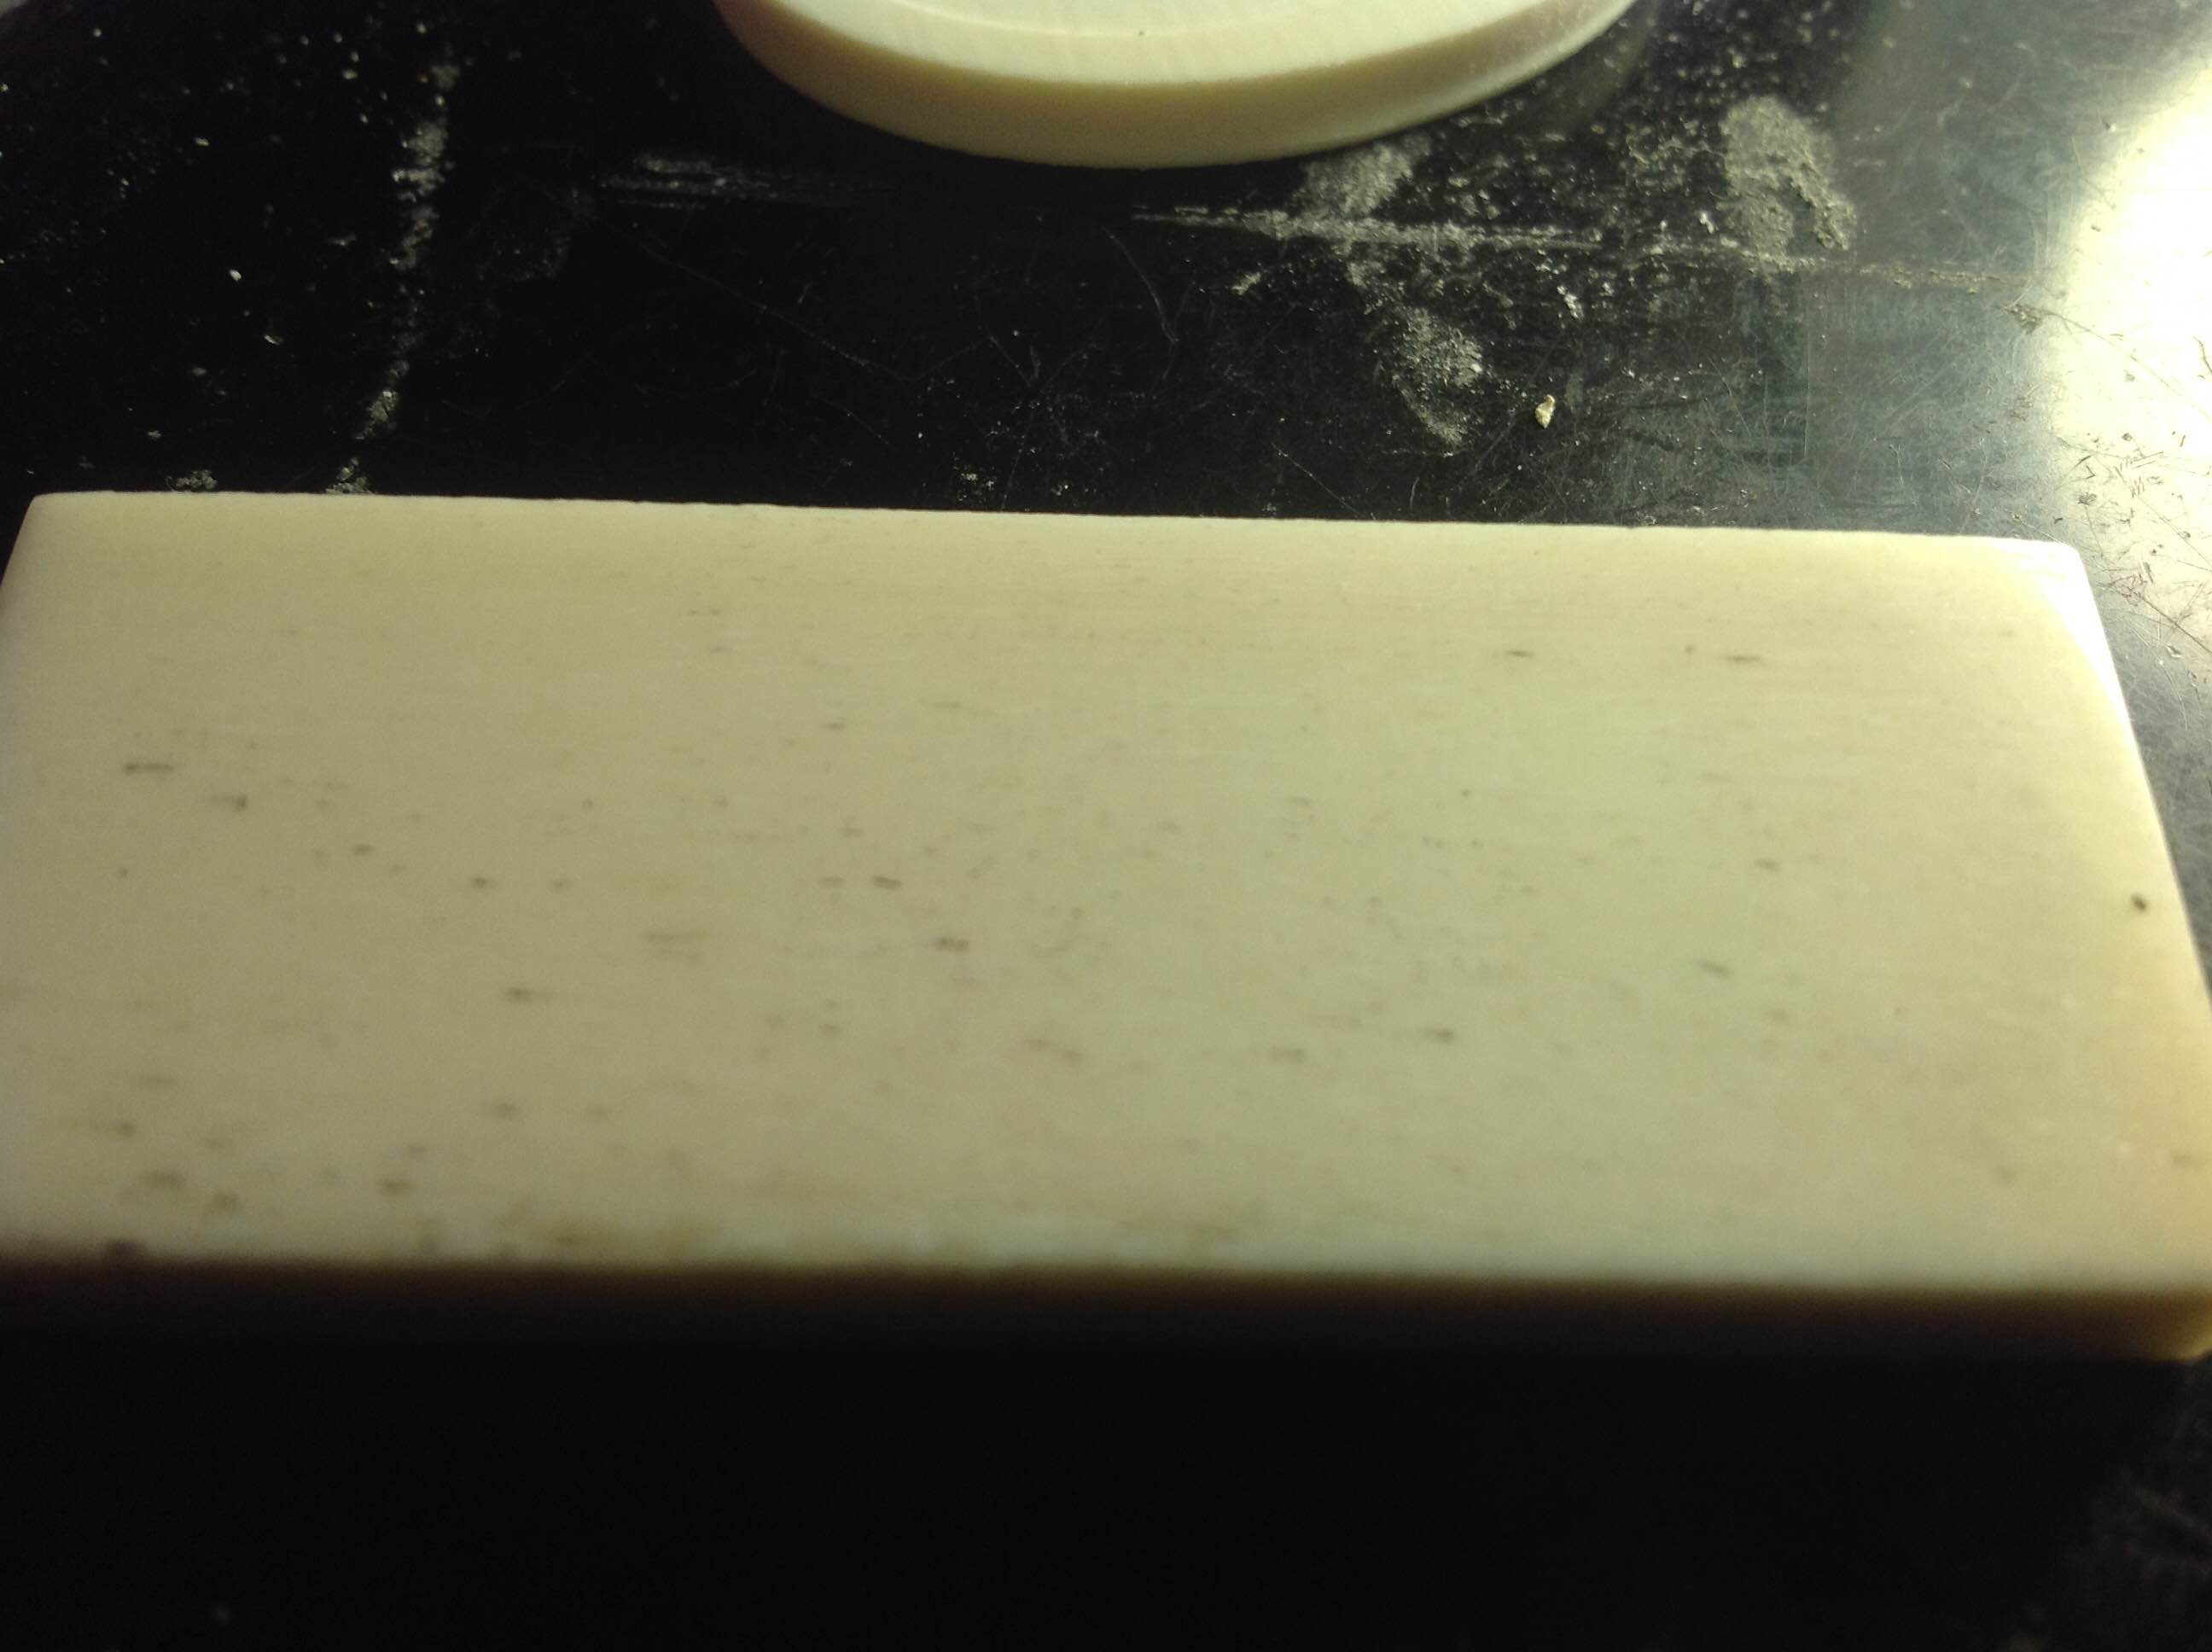
After letting it dry thoroughly, I proceeded to sand down both sides with 220 grit sandpaper, followed by 600, 1000, 1800, 3200 and finally 8000 grit pads.  Wiping some oil paint across the whole piece and wiping it off, I find that the bone dust side is just as bad or worse than the untreated area (center), but the right side where we used no dust is looking pretty good! After 30 minutes the glue is still somewhat soft for scrimshawing. I’ll be testing it for “scrimmability” later in the week and will update my findings.


Left=superglue alone, middle - no glue, right glue and bone
Here, the liquid alone was on the left, the “naked bone” in the middle, and the powdered bone/superglue on the right after sanding. the “clear” winner so far is the plain superglue


Oso-Famoso – Scrimshaw from the Masters

Oso-Famoso – Scrimshaw from the Masters


Scrimshaw goldfish by Jesus Arich, shared by OsoFamoso.com
Photo by Rob Johnson, shared by OsoFamoso.com

Oso Famoso is a name many older “scrimshaw geeks” may remember, as he was one of the first to show and sell scrimshaw and fossil ivory online.  I especially remember the goldfish by Jesus Areck, and seeing the raw mammoth ivory so close yet financially out of reach for me at the time.  I’d frequent his site and pause for up to an hour just to look at the fine artwork he had there.  “I had started being a supplier of fossil ivories and scrimshaw artist’s representative in the early 1970’s. I would spend some weeks every summer on St. Lawrence Island, Alaska getting fossilized walrus ivory from the Yupik natives. I would provide material and money for various artists, mostly in Bellingham, Wa. and they would give me back what was generally excellent work.

Alaskan Native holding a ceremonial mask by Terry Nelson. Photo by Rod Johnson
Alaskan Native by Terry Nelson. Photo by Rod Johnson

“My mountings were mostly produced by Ken Fredericks of Bellingham, who is now deceased. I haven’t been active in commissioning scrimshaw in a number of years. …”

Oso: “Whatever is legally able to be sold is available for new ownership, and on the market. I am not seeking any business that violates existing law.” So – California, New York and New Jersey sales are definitely out, and you will need to check your local state laws to see if it’s legal to purchase any of these beautiful pieces.

“None of these pieces have been recently made. The artists include Chris Lehwalder, Gary Dorning, Heidi Robichaud, Jesus Arick, Kevin Pettelle, Kurt Sperry, Susan Ford, Scott Halligan, Scott Judge, Terry Nelson. The great majority of these pieces use mammoth ivory or fossil walrus ivory.”  Some of the pieces may not be available at the time of this publication since they will be sold, others may not be obtainable due to specific state restrictions.

I’ve got some small pics below the fold. Contact Oso for larger pics that really do the pieces justice

Anyone interested in acquiring any of these one-of-a-kind pieces may contact Oso at oso@osofamoso.com

Alibaba’s Bone – Review of Ox Bone for Scrimshaw

(This article originally appeared in the April 4, 2015 edition of the newsletter)

Raw bone scale from Alibaba.com
Raw bone from Alibaba.com

While our dog is a bit upset he wasn’t able to participate in this article, he (and I) really needs more walks and less calories after our incredibly long winter and will get over it.

The easiest place to acquire bone was shared by one of our readers – they go to the big box store for pets and walk down the aisle until they see the nicely cleaned and bleached bones for dogs, picks one up and then goes about cutting, polishing and scrimming it. Smart! Most of the work I’m about to write about is done for you.

The second easiest way is to buy a soup bone from your local grocer or butcher. You can get stew or soup bones in various sizes but for scrimshaw you will want the one that flairs out at one end since this area is not only thicker but also has less voids where capillaries once ran.

After simmering the bone for about an hour and letting it cool, hand it to your four-legged friend to clean the meat out of it and move on to other things.  If they haven’t faithfully buried it, the bone should be stripped of most of the meat. Rinse and rewash it, or run it through the dishwasher for a few cycles* .

If you’re going to be gluing this onto or into wood, degreasing the bone is essential. There are two schools of thought when it comes to degreasing: BLTC and natural. BLTC (better living through chemistry) has you soak the bone in white gas or acetone (both flammable, use glass or metal containers and follow safety guidelines and common sense). The natural method is to soak them in a 50/50 mixture of hydrogen peroxide (topical 3%, not the hair bleach type) as noted in “Bonelust: Bad Words: Boil and Bleach“.  The third way is to let them sit in the sun and the rain to the oils work out naturally, though this can take several months.

After reading this I wonder if the ox bones I’ve received from Alibaba have been degreased? I’ll be dropping the rest of the lot in a 50/50 mix of H202 just to be sure.

The third way, which we’re finally getting to is to purchase the bone as knife scales.  You can get these from Alibaba.com as I have, through Texas Knife Supply,
Amazon, etc.

Same bone scale after polishing.
“Alibaba’s Bone” after polishing

We started with the rough-cut bone, sanding and polishing it to 4000 grit, then coating it with Renaissance Wax and setting it aside for a week.  Two days is usually a sufficient rest period for sealing. You can also use beeswax, coating and buffing it into the bone. As you can see here there are micro-fine occlusions where capillaries were. When we polished the bone they became more apparent.  I’m curious if stabilized bone has the same qualities.

Marking the bone with various pigments including aquarelle pencil, India Ink and oil paint, I set it to dry for about 30 minutes.

Various pigments applied to bone scale to test for staining
Alibaba’s bone with various pigments.
All of the pigment wiped away with a damp cloth except where there were voids in the bone
After wiping off the pigment with a damp cloth, only the occlusions remain


Initially wiping off the bone left some of the India ink, but using a moist towel wiped the rest off easily.


Scrimming:

Preliminary lighthouse drawing on bone scale
Preliminary drawing with Aquarelle pencil

Falling short of my goal to do a lighthouse per day, I have improved with the six I’ve managed to sketch, and the one on the bone I’ll count as my seventh (the whole family got sick one after another, and my dog quickly became jealous of the bucket that was my best friend for a couple of days). The aquarelle pencil marks the bone easily.


Lighthouse scrimmed into bone and stained with India ink
Initial scrimshaw of lighthouse

Using the tungsten scrimshaw bit from Coulter Tool the scrimming went easily. Coating the lines with India ink, I took a slurp of coffee and wiped it away, then used a dampened cloth to wipe away the excess. Most of the ink wiped away thanks to my impatience.  Next time I’ll ink it, walk the dog so it’s nice and dry, then wipe it away.


After adding more detail I switched over to oil paint to see if it would stand out better but it yielded similar results.

Having started on ivory, any occlusions like those in bone and tagua nut stand out to my eyes, though I’m starting to like the texture of the bone more now, kind of like moving from painting on smooth paper to canvas.

Second Scrim
After adding some detail, it was time to finish the article.


As the bone is too thick at the moment to just cut into cabochons, a cross-cut on the subsequent pieces will need to be performed as well as more sanding and shaping.  The material would be excellent for luthiers wanting to make nuts and other parts for their stringed instruments, and would do well for smaller knife handles, also.